
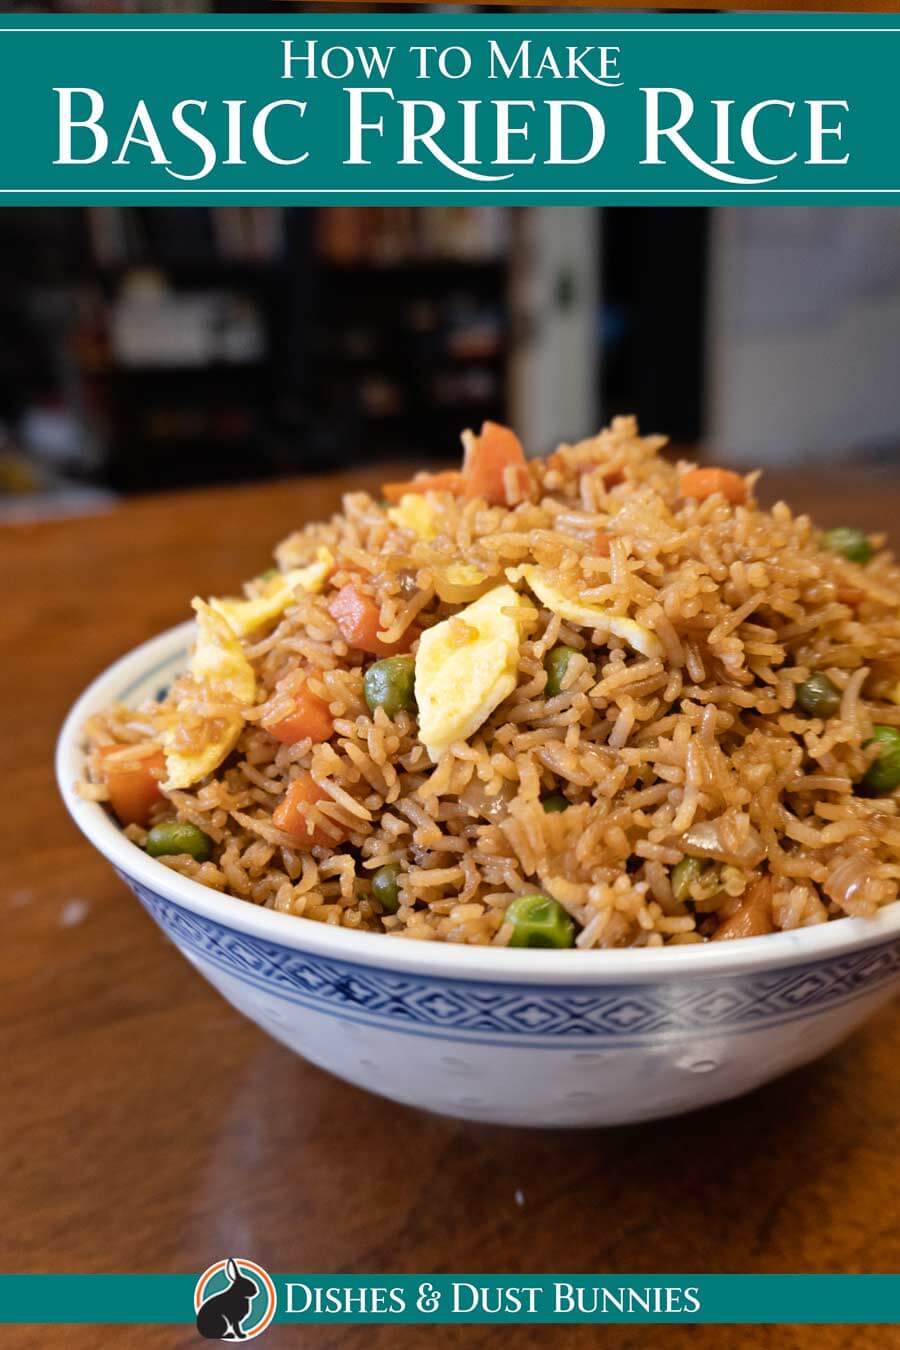
How to Make Basic Chinese Fried Rice
Learn how to make your own delicious restaurant style fried rice at home in just 20 minutes! It's quick and easy and its a perfect pairing with so many other dishes. Not only is this recipe super satisfying, but it's great for using leftover rice, meat or veggies you have on hand as well.
In this post, I also cover how to use this recipe as a base framework for creating your own personal yummy easy fried rice recipes!
Chinese fried rice is a popular dish in restaurants and homes all over the world. It is easy to make and can be adapted to include any ingredients you like. In this article, I will show you how to make basic Chinese fried rice, as well as a few variations.
There’s something about fried rice that just makes it so darn delicious. I love fried rice! Maybe it’s the simplicity of the dish or the way that all of the flavors come together, but whatever it is, I just can’t get enough of it!
I hope you enjoy this recipe! ❤️ If you give it a try, please let me know how it turned out for you in the comments section at the bottom of the page or share a pic of your om noms on Instagram and tag @dishesanddustbunnies! ❤️
Be sure to see the recipe card at the bottom of the post for full ingredients & instructions!
Fried Rice Ingredients & Variations
One of the wonderful things about cooking fried rice is how the ingredients used are so versatile, and you can really make it your own. Here are the basic ingredients used by your local Chinese restaurant so that you can get that authentic Chinese fried rice taste at home.
Day-old chilled rice – It's best to use leftover day-old, long grain white rice that's been chilled and cold from being stored in the fridge. Cold rice produces the best results, for sure! You can use other kinds of rice if you like, but please make sure it's day-old as it's more dry than fresh. I explain this a little more below.
Long grain rice is best used when making fried rice rather than using short grain rice as it will stick together too much and give a mushy texture, which we'd definitely like to avoid since we want our rice as close to the restaurant style and as authentic as possible. You can use jasmine rice, white or brown rice.
Onion & garlic – You can use standard yellow onions, chopped finely, or you can use sliced green onions or spring onions. Add these to the pan along with garlic to give the rice a nice flavor. You could also add a little grated ginger if you like.
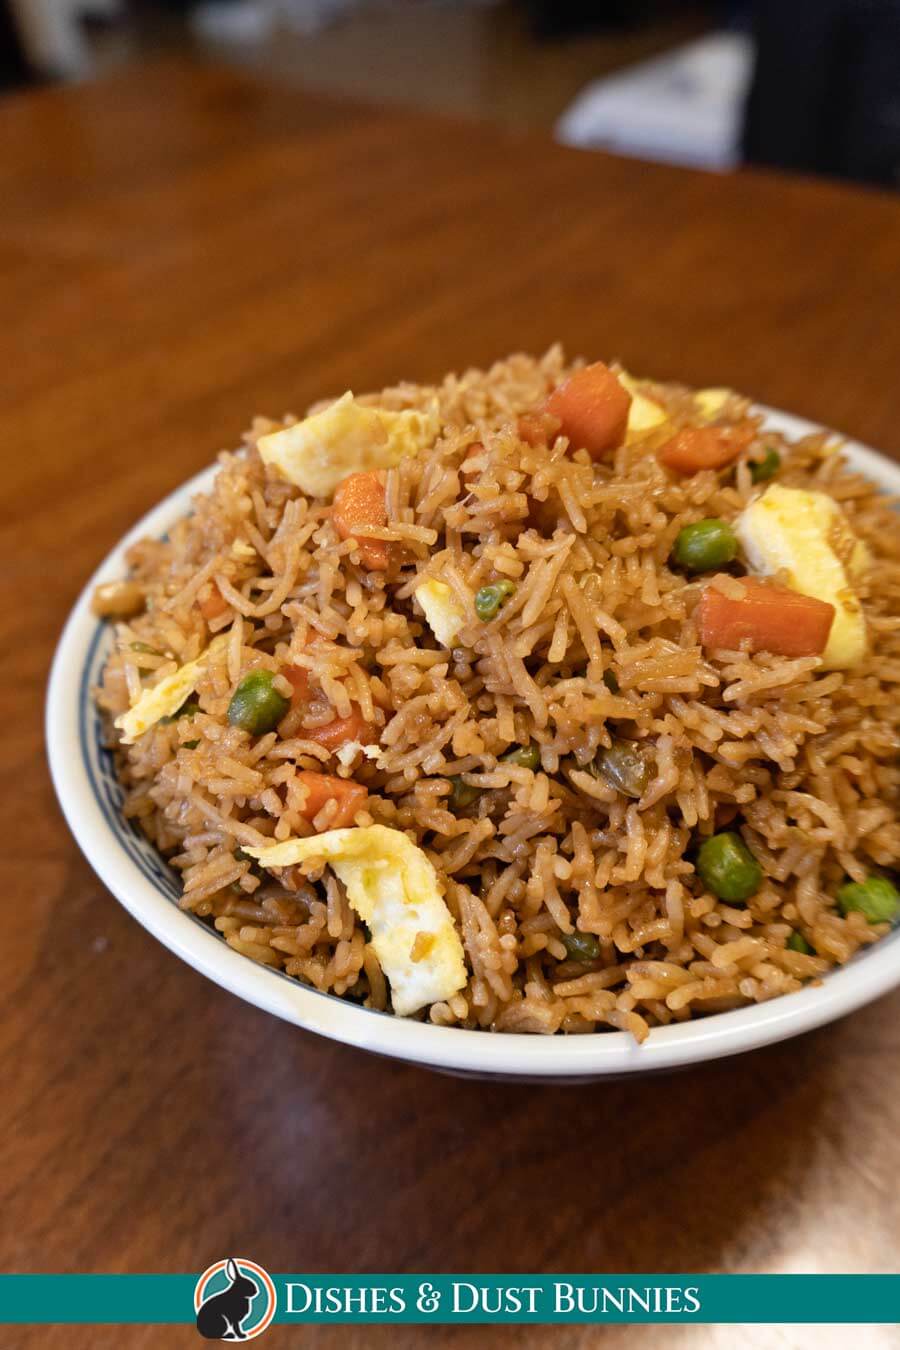
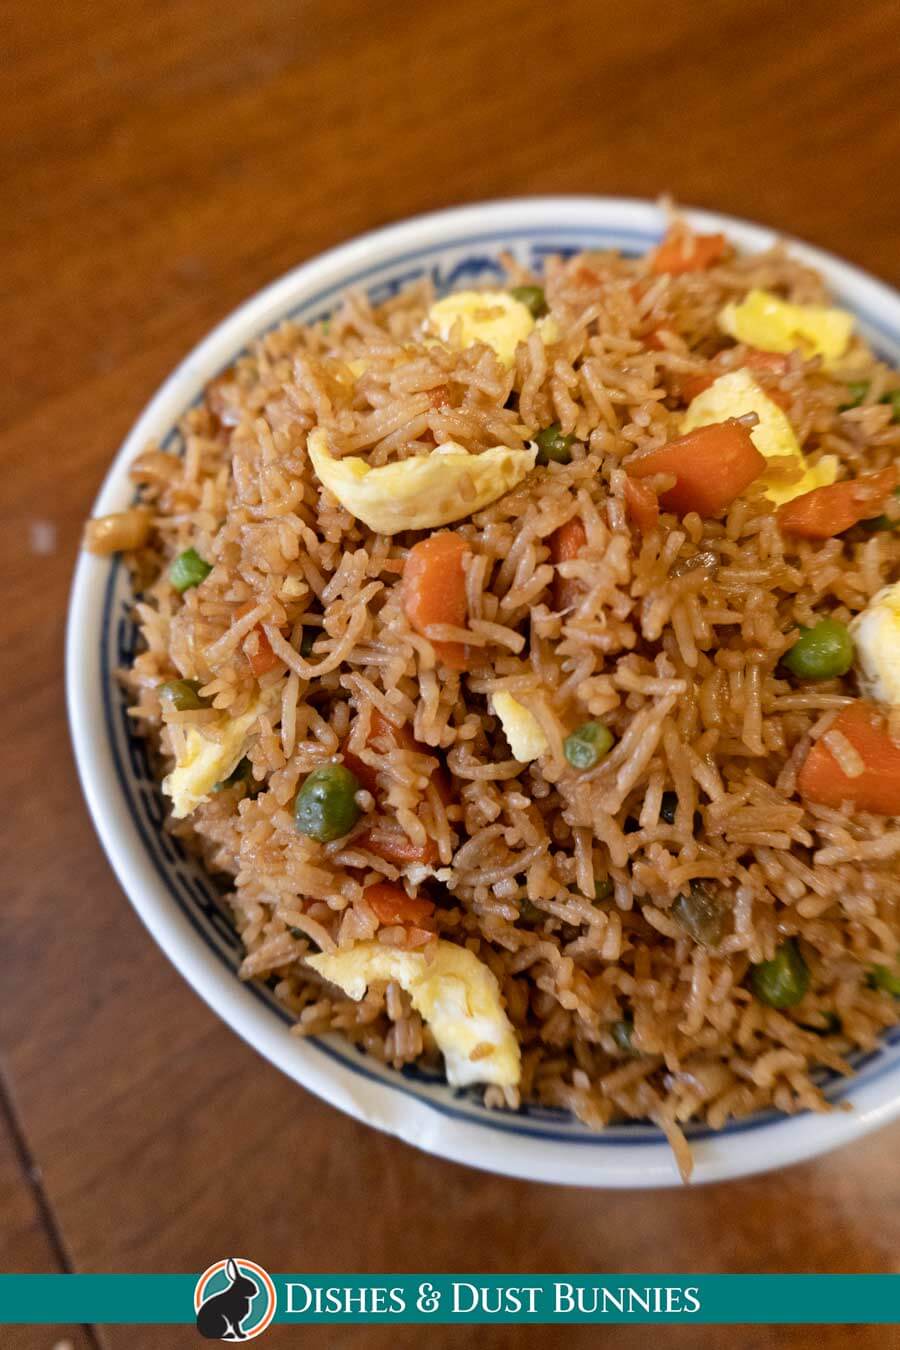
Vegetables – For this recipe, I added frozen peas and cubed carrots. If you'd like, you could also add other veggies you enjoy, like bell pepper, broccoli, corn niblets, etc.
I like to make a kimchi fried rice as well, adding kimchi gives my rice a nice kick! For a vegetarian version you can make a vegetable fried rice and skip the protein.
…continued below…
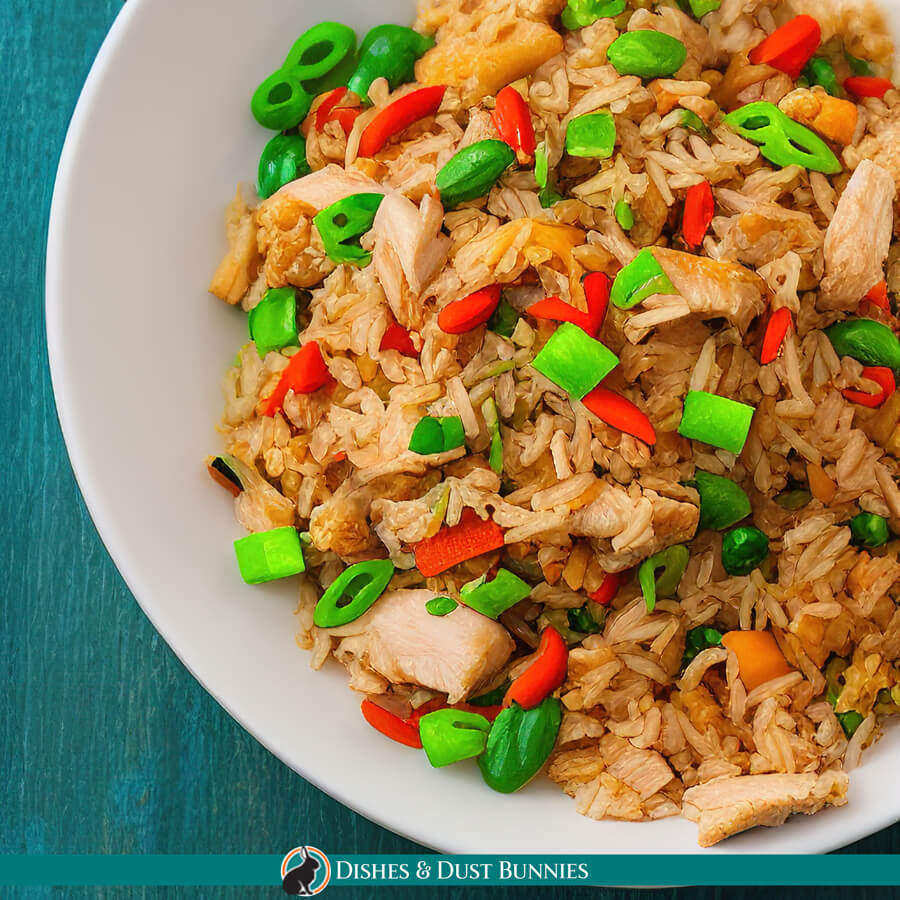
Protein – I used a little scrambled eggs for the protein for this recipe, but you could also mix in some shrimp, scallops, chicken, pork or beef. It's hard to go wrong!
Chicken fried rice, beef fried rice and pork fried rice are all staple meals popular among all groups of people as they are yummy and super cost efficient though there's nothing wrong with making a meatless egg fried rice. This is also a great way to easily use up any leftover ingredients that you have on hand. If I have leftover chicken or pork, I'll chop it up and add it to the fried rice.
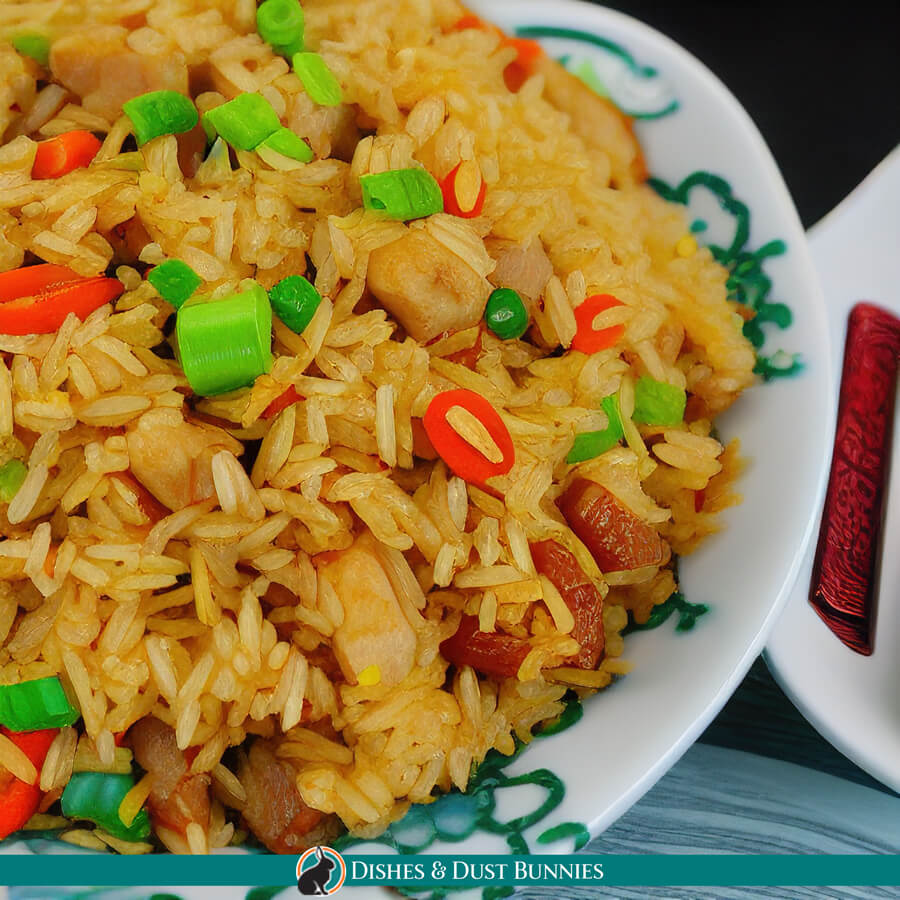
If you can get your hands on some Chinese sausage, it'll work very nicely and give your fried rice recipe a wonderfully authentic Chinese taste!
Fried rice sauce – The sauce used to flavor good fried rice usually consists of mixing together soy sauce, butter/cooking oil, sesame oil and sometimes a little oyster sauce. One nice thing about fried rice is, when you add soy sauce you can adjust how much sauce you put in… a little or a lot, according to your tastes, and it'll be absolutely delicious either way.
I use about ½ cup of soy sauce in this recipe, but that's just a suggestion – use however much is yummy to you! You can also use light soy sauce or low sodium soy sauce if you're being health conscious. A good idea may be to replace regular soy sauce with dark soy sauce for a richer flavor and more of a savory, umami taste.
Seasonings and other additions – Adding seasonings like white pepper will add a nice little kick to your fried rice. In Chinese cooking, white pepper is used more often than black pepper.
Serve immediately and finish off your rice with a sprinkling of sesame seeds and some chopped green onions. Yum! 😋
Be sure to see the recipe card at the bottom of the post for full ingredients & instructions!
How to make Chinese fried rice – An Overview
Homemade fried rice is super easy to make. Before we get into the full recipe at the bottom of the page, here's a little overview on how to make it:
Cook the protein – Begin by cooking your protein, such as scrambled egg (or shrimp, chicken, etc.) in your pan with a bit of vegetable oil (or olive oil), then set aside.
If you're using leftover chicken, pork, or other meat, have that on hand. Make sure your protein has been removed from the pan and set aside, before the next part.
Cook the garlic and onions – In the pan, along with a little oil or butter, cook the onions until softened, then add the garlic and cook for a few more minutes until fragrant.
Cook the vegetables – To the pan, add the veggies and cook until softened. For this recipe, I used carrots and peas.
Add the sauce – To the pan along with the veggies, garlic and onions, add the soy sauce and the oyster sauce (if you're using it). Stir fry for a couple of minutes.
Add the rice and protein – Next, add the rice and the cooked chicken/protein/meat/scrambled egg mixture, then stir fry rice so that everything is coated in the sauce and well combined.
When stir-frying, allow the rice to sit still in the pan for a little bit between stirs so everything fries up nicely. Turn off the heat, then add the sesame oil to the pan and combine. Garnish with green onions (if using them). Serve!
How to Cook Eggs for Chinese Restaurant Fried Rice
The first step to making your fried rice is to cook the eggs. You can do this however you like, but we recommend scrambling them.
To scramble the eggs, crack them into a bowl and whisk them together until they are combined. Then, heat up a pan on medium heat and add some oil. Add the eggs to the pan and scramble them until they are cooked through.
Once the eggs are cooked, remove them from the pan and set them aside until adding the protein at the end of cooking.
Do you cook rice before frying it?
Does rice have to be cold to make fried rice?
For this recipe, yes, it's best to use pre-cooked chilled day-old leftover white rice. Chilled day-old rice will be drier than freshly made – this allows the fried rice to have the perfect texture while soaking up all the flours of the soy sauce, garlic, onion, sesame oil, etc.
Using freshly cooked rice will result in too much moisture which will leave your fried rice clumpy and soggy… which is not restaurant style at all and not what you want.
Can I make Fried Rice in a Rice cooker?
The best fried rice is cooked in a hot pan or wok on high heat. A rice cooker will not give you the best results as it steams the rice rather than frying it.
You can however cook the rice in a rice cooker, allow it to chill in the fridge overnight and then add it to your fried rice the next day.
How to Reheat Fried Rice:
It's best to reheat fried rice in a pot on the stove or in the microwave. Also, keep in mind that it's best to only reheat your rice once for the best quality.
Microwave: Reheat in a microwave-safe container with the lid on but partially open to vent. Before microwaving, you might need to add a little splash of water to rehydrate. The amount of time it takes to reheat your rice depends on your specific microwave, but I find that it takes about 3-4 minutes.
Stove Top: On medium heat, reheat the rice in a pot on the stove with the lid on. Before reheating, you might need to add a little splash of water to the pot to rehydrate. I find it usually takes about 5-8 minutes to reheat, but please watch your temperature and turn it down if you need to.
How long is fried rice good for?
When stored in an air-tight container in the fridge, fried rice will be good for about 5-7 days. When stored in the freezer, fried rice should keep for about 6 months.

What to Serve with Fried Rice
Practically any Chinese or Asian-inspired dishes, sides and appetizers will go perfectly with homemade fried rice. Egg rolls, chicken balls and the usual take-out food are excellent with this rice. Here are some more recipe ideas I know you'll enjoy!
How to Make Basic Chinese Fried Rice
- Total Time: 20 minutes
Ingredients
- 4 cups cooked and chilled rice – long-grain is best (I used basmati for this recipe)
- 1 cup chicken, shrimp, pork, scrambled eggs, etc – chopped (leftover proteins are great!)
- 3 tbsps butter (you can use canola out instead if you prefer)
- 3 cloves garlic, minced
- 1 small onion, finely chopped
- OR 3 green onions, chopped, white and green parts separated (you're using the white and green parts at different times in the recipe)
- 2 carrots, peeled and diced
- ½ cup frozen peas
- ½ cup soy sauce, reduced sodium
- 1–2 tsps oyster sauce (optional but highly recommended)
- ½ – 1 tsps sesame oil

Instructions
- Cook the protein – Begin by cooking your protein, such as scrambled egg (or chicken, shrimp, etc.) in your pan with 1 tbsp of the butter on medium heat, then set aside. If you're using leftover chicken, pork, or other meat, make sure you have it set aside on hand until you need it again.
- Cook the garlic and onions – In the pan, along with 1 tbsp of the butter, cook the onions (or white parts of the green onions if using them) until softened, then add the garlic and cook for a few more minutes until fragrant.
- Cook the vegetables – To the pan, add the remaining butter, the veggies and cook until softened. I used carrots and peas for this recipe, but you can use other veggies you have on hand or enjoy.
- Add the sauce – To the pan, along with the veggies, garlic and onions, add the soy sauce and the oyster sauce (if you're using it). Stir fry for a couple of minutes.
- Add the rice and protein – Next, add the rice and protein/meat, and stir fry so that everything is coated in the sauce and well combined. When stir-frying, allow the rice to sit still in the pan for a little bit between stirs so everything fries up nicely. Turn off the heat, then add the sesame oil to the pan and combine. Garnish with green parts of the onions (if using them). Serve!
Notes
You can use this recipe is a framework and change things around to suit your tastes! Try different vegetables, meats, proteins, etc. More sauce, more sesame oil or something else that inspires you! If you make some interesting additions and they work out well for you, I'd love to hear it! leave a comment at the bottom of the page or snap a pic and tag me on Instagram (@dishesanddustbunnies).
- Prep Time: 5 minutes
- Cook Time: 15 minutes
- Category: Side
- Method: Stir Fry
- Cuisine: Chinese