
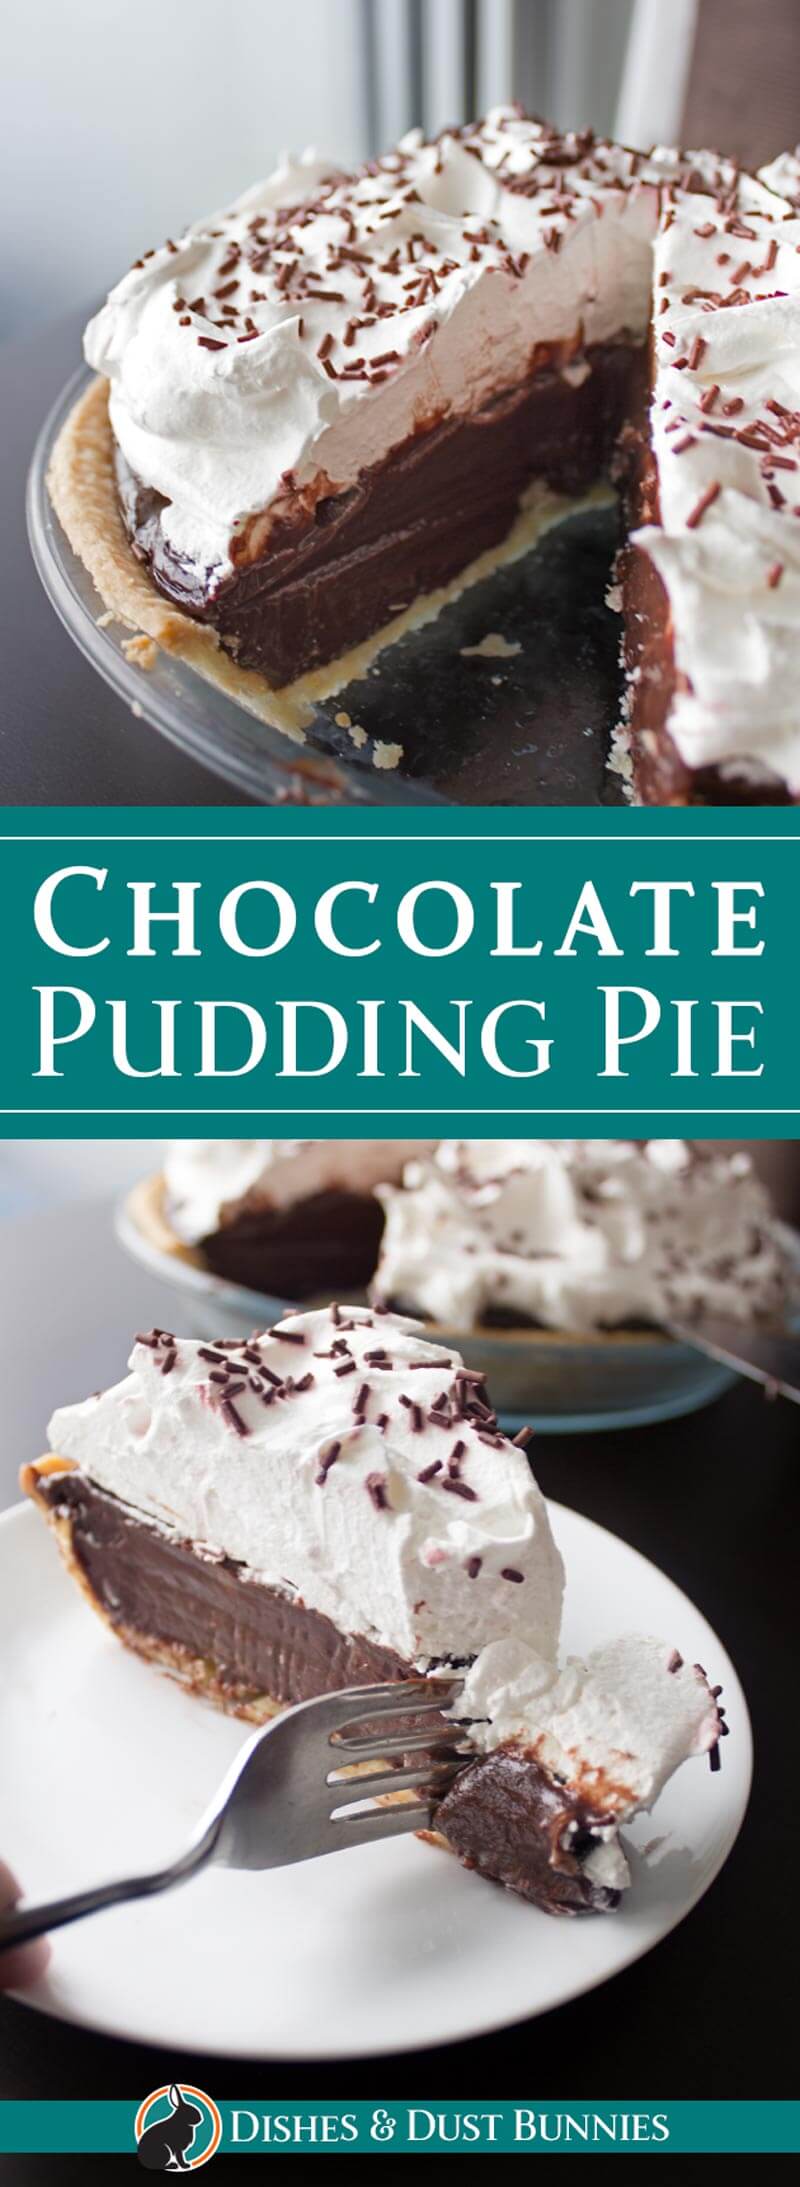
Chocolate Cream Pie aka Chocolate Pudding Pie
This chocolate cream pie (also known as chocolate pudding pie) is a delicious dessert recipe that will have your taste buds singing with joy. It's made with rich and creamy chocolate pudding, and it's topped off with whipped cream and chocolate sprinkles for the perfect finishing touch. Chocolate pudding pie is a wonderfully scrumptious no bake dessert that's simple to make and great for special occasions like Christmas and the holidays. Enjoy!
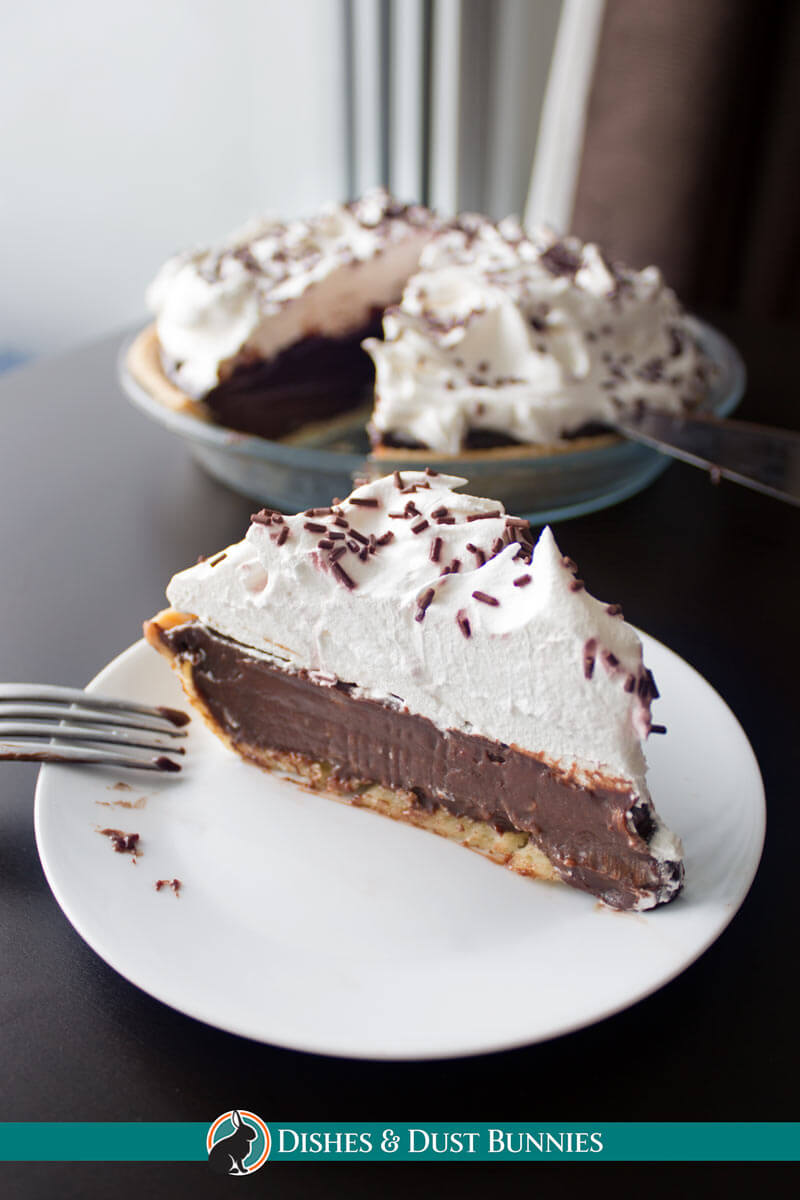
Care for a big ol' slice of this classic chocolate cream pie? Did I hear a yes?
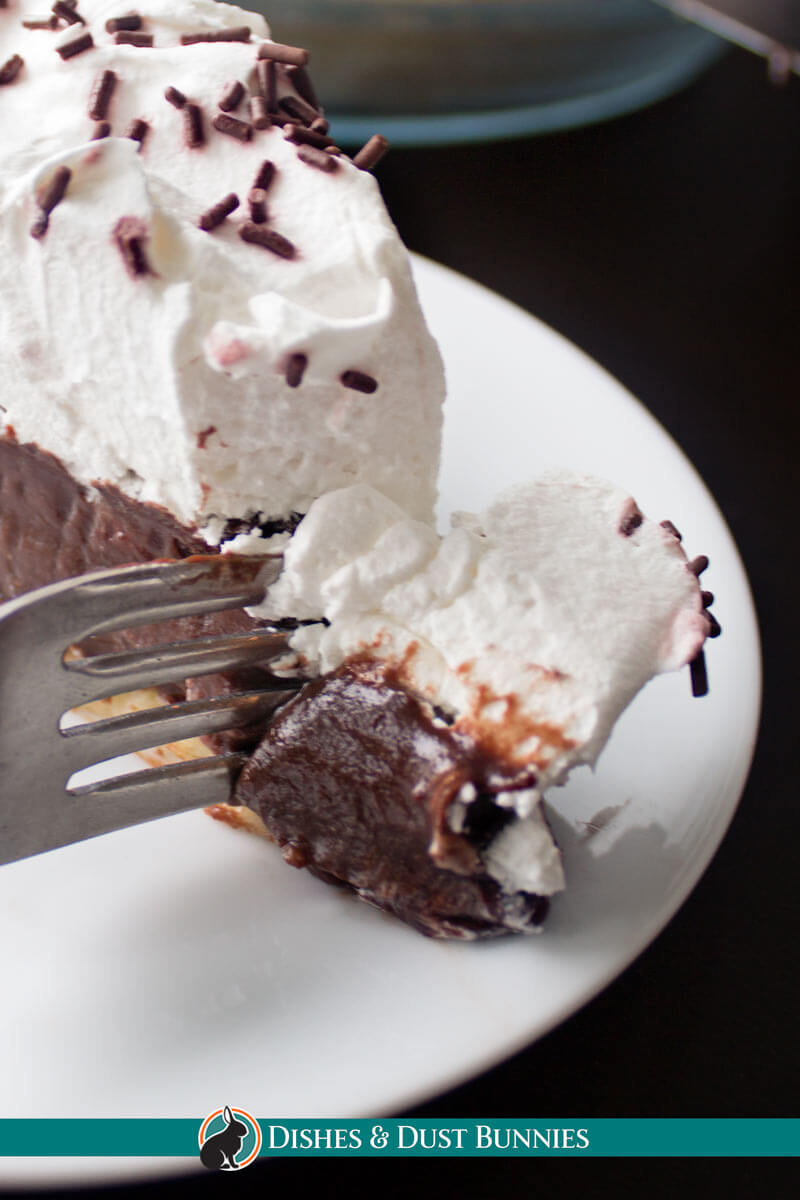
Good, just what I like to hear! Now get over here, grab a fork and dig in! 😋
There's just something so special about digging your fork into a creamy and rich slice chocolate cream pie, isn't there?
Well, for me this dessert brings back the wonderful memories of Christmas time during my childhood on the farm. My grandmother would always give her Holiday dinner guests several options for dessert and this was always one of them. 🙂
To help share the sweet memories of my childhood with my little family, I did my absolute best to re-create this much-loved chocolate cream pie recipe… and… I couldn't be more pleased!
While you're here, please check out this delicious cinnamon pie recipe from fellow blogger Blackberry Babe!
I hope you enjoy this recipe! ❤️ If you give it a try, please let me know how it turned out for you in the comments section at the bottom of the page or share a pic of your om noms on Instagram and tag @dishesanddustbunnies! ❤️
Be sure to see the recipe card at the bottom of the post for full ingredients & instructions!
How to make the Best Chocolate Cream Pie Recipe
aka Chocolate Pudding Pie – An Overview
You can find the complete instructions and ingredients in the recipe card at the bottom of this post, but first, here's a quick overview of how to make homemade Chocolate Cream Pie.
This recipe is super simple to make and it could technically even be considered a “no-bake” recipe if you don't count the pie crust! lol
For this recipe, we use a store bought 9″ ready made pie crust, but you could also use your own homemade crust. Bake the crust according to the package instructions, then allow it to cool.
While your pie crust is cooking, combing the pie filling ingredients (milk, sugar, cocoa, salt and vanilla extract) in a pot on the stove and whisk everything together so it's nice and smooth and chocolatey. Next, it's important to thicken the chocolate filling by whisking in some cornstarch with some milk. Once thickened, pour this gorgeous and velvety homemade chocolate pudding into the baked pie crust.
Allow the pie to cool to room temperature, then top it with some fresh whipped cream or similar whipped topping (like cool whip), add some sprinkles, chocolate shavings, or chopped chocolate and chill in the fridge overnight to set.
This makes for a great dessert to serve at Christmas time or just make it whenever you feel like it… like me! 😉
Recipe Variations
Sprinkles, etc – instead of using chocolate sprinkles, you could also use chocolate shavings, mini chocolate chips or chopped chocolate.
Pie crust – For this recipe, we use a store bought 9″ ready made pie crust, but you could also use your own homemade crust. Use a food processor to combine graham crackers with a little butter and some sugar for a delicious homemade crust. Press the mixture into a 9″ pie plate then bake for about 7 minutes at 375°F, then allow to cool before filling. This method also works wonderfully in making a homemade oreo pie crust!
Frequently Asked Questions
Can I use a topping other than whipped cream?
Yes! While frozen whipped topping (like Cool Whip) is recommended, you can also use homemade fresh whipped cream or store-bought. Homemade whipped cream is easy to make, and I have a post with tips on how to do it!
Why is my cream pie runny?
A runny cream pie usually happens if the filling hasn't cooked long enough. To prevent this, make sure to cook the chocolate pie filling until it's very thick. Using cornstarch as in the recipe and allowing the pudding to fully thicken will help avoid a runny pie!
How to serve Chocolate Pudding Pie
Chocolate cream pie (or chocolate pudding pie) should be served chilled. Try to avoid leaving the pie on the counter before serving, otherwise it'll warm up and won't hold its shape when served. If this does happen though, no big deal, it'll still be super yummy!
Storage Instructions for Chocolate Pudding Pie
Refrigerator Storage
Chocolate pudding pie should be stored in the fridge, covered tightly with plastic wrap or aluminum foil. This will keep the pie fresh and help maintain its shape. It's best to serve the pie chilled directly from the refrigerator. The pie will stay good for up to 4 days.
Freezer Storage
Yes, you can freeze chocolate pudding pie! Wrap it securely in plastic wrap or aluminum foil before freezing. It will stay fresh for 1-2 months. When you're ready to serve, thaw the pie in the fridge overnight.
Room Temperature Guidelines
Chocolate pudding pie can sit out at room temperature for up to 2 hours. After that, it should be returned to the fridge to ensure food safety. To keep the pie's shape, it's best served chilled.
Chocolate Pudding Pie
- Total Time: 20 minutes
- Yield: 1 pie – about 8 slices 1x
Ingredients
- 9” pie crust – baked and cooled (You can use the frozen store bought kind or your own)
- 1 ½ cups white sugar
- ½ cup unsweetened cocoa powder
- ½ tsp salt
- 2 ¾ cups milk
- ¼ cup cornstarch
- ¼ cup milk (for mixing with the cornstarch)
- 1 ½ tsp vanilla extract
- 4 egg yolks, beaten
- 1 tbsp butter
- 2 cups (or more if you like!) frozen whipped topping, thawed;
OR Homemade Whipped Cream - Chocolate sprinkles or chocolate shavings

Instructions
- Before starting, you'll need to bake your pie crust according to the directions on the box or whatever recipe you're using (soon I'll be posting my recipe for pie crust!).
Prepare the Chocolate Pudding Filling
- Heat 2 ¾ cups milk, sugar, cocoa powder, salt and vanilla in a medium sauce pot on the stove. Heat for 5-6 minutes on medium heat, constantly stirring until ingredients are dissolved and mixed. Turn down the heat to allow it to simmer.
- In a small dish or measuring cup, using a fork or small whisk combine the cornstarch with the ¼ cup milk. There should be no lumps.
- Pour the cornstarch mixture into pot and stir well with a whisk. Turn the heat up to medium and allow it to thicken up. Make sure you stir frequently.
- Turn off the heat and remove the saucepan from the burner.
- Slowly pour the egg mixture into the pot and stir quickly while the egg yolks cook.
- Add the butter and allow to melt – stir and combine.
- Allow the mixture to cool for a few minutes and then pour into the baked pie shell.
- Allow to cool to room temperature then add the whipped topping and sprinkles.
- Place in the fridge to chill overnight before serving.
Notes
This recipes is best served chilled. If the pie sits out at room temperature for too long, it won't hold it's shape when you slice it.
- Prep Time: 15 minutes (plus time to chill overnight)
- Cook Time: 5 minutes (for the pudding)
- Category: Dessert
- Method: Stovetop, No Bake
- Cuisine: American
My mom used to make chocolate pudding pie when we were growing up and I loved it. I haven’t had it in years though. This was a great reminder 🙂