• Skip to primary navigation
  • Skip to main content
  • Skip to primary sidebar
  • Skip to footer
  • Home
  • About
  • Recipes
  • Dishes & Dust Bunnies
  • Nav Social Menu

Dishes & Dust Bunnies

Dishes & Dust Bunnies

Good Home Cooking and The Magick of Modern Homemaking - Recipes and lots of good stuff!

How to Roast Pumpkin Seeds

by Michelle Dunster

This post may contain affiliate links. Please read our discloure policy.

How to Roast Pumpkin Seeds from dishesanddustbunnies.com

Last week I shared with you how I made my own homemade pumpkin purée using a large 25 pound pumpkin. It was actually really fun for me to make such a ridiculously large amount of purée and I’m looking forward to finding out how many different recipes I can make with that one pumpkin.

In this post I’m going to show you how I turned the seeds from that big ol’ pumpkin into a delicious snack of roasted pumpkin seeds. 🙂

How to Roast Pumpkin Seeds from dishesanddustbunnies.com

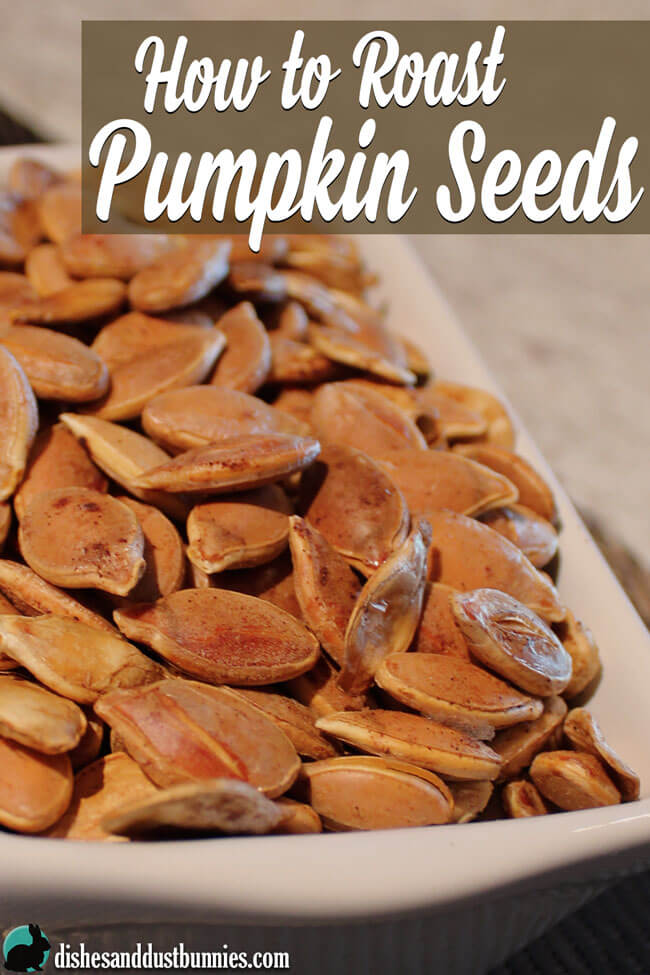
Roasting pumpkin seeds is actually very easy – I promise!

After I’ve taken my pumpkin apart, I place the seeds into a colander with any of the “pumpkin guts” that are still attached.

While I’m on the subject, do you call the insides of the pumpkin – “pumpkin guts”?

Maybe it’s just me, but I haven’t heard too many other people call it that. To me, the insides have always been pumpkin guts. lol

How to Roast Pumpkin Seeds from dishesanddustbunnies.com

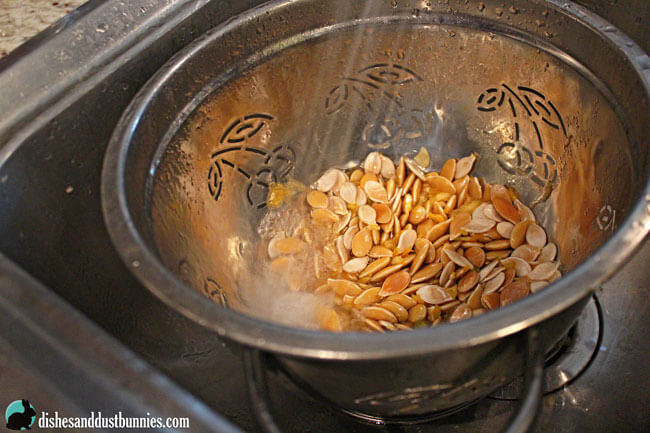
Running some cold water over the pumpkin guts and seeds while I pull them apart with my hands makes it much easier to separate them.

Once my seeds have been rinsed off and separated from the pumpkin guts, I simmer them in some hot water for about 10 minutes. I find that this helps tenderize the seeds a little bit and gives them a nice texture after the roasted.

You can skip the boiling of the seeds if you’d like to, but I find that boiling them before roasting really improves the texture.

How to Roast Pumpkin Seeds from dishesanddustbunnies.com

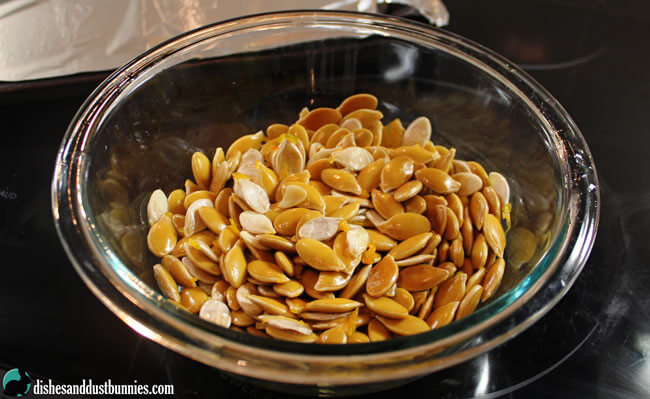
After I drain the seeds of any excess water, I mix them up in a mixing bowl with some oil, salt and some pumpkin spice.

One of the great things about roasting your own pumpkin seeds is how you can customize the flavours to suit your tastes. I really enjoy using spices like cinnamon and even some good old pumpkin spice but feel free to use whatever seasonings you like.

How to Roast Pumpkin Seeds from dishesanddustbunnies.com

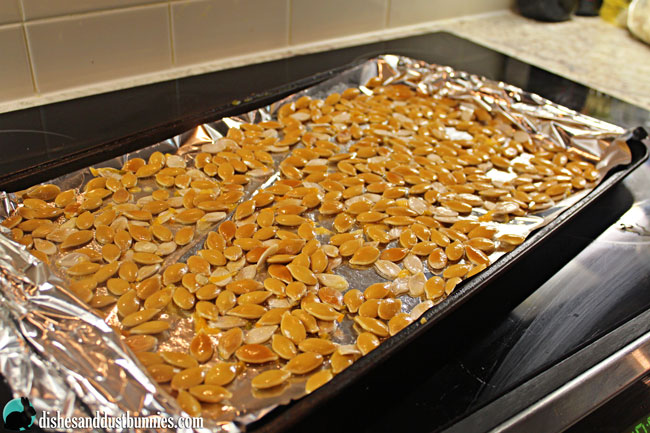
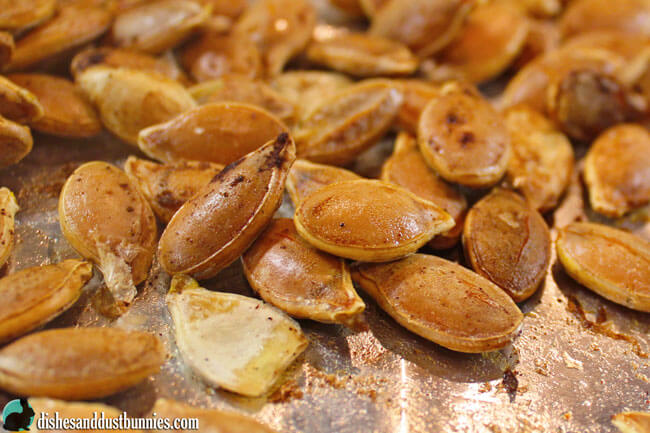
After seasoning them, I spread them out on a cookie sheet I roast them in the oven for 20 to 30 minutes or until they reach a nice golden colour.

How to Roast Pumpkin Seeds from dishesanddustbunnies.com

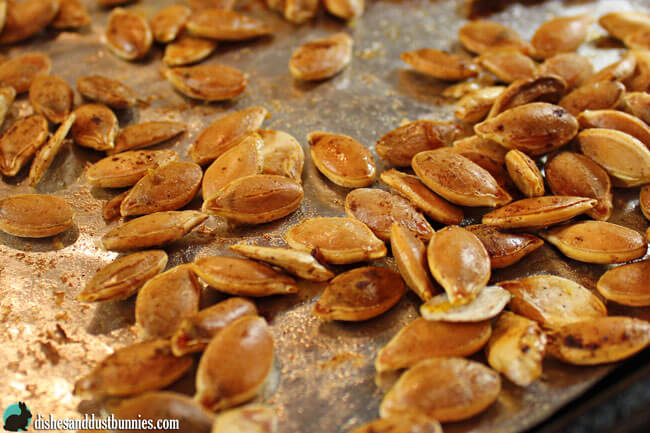
And then once they're cooled, we gobble them up!

How to Roast Pumpkin Seeds from dishesanddustbunnies.com

Print
clock clock iconcutlery cutlery iconflag flag iconfolder folder iconinstagram instagram iconpinterest pinterest iconfacebook facebook iconprint print iconsquares squares iconheart heart iconheart solid heart solid icon

How to Roast Pumpkin Seeds


  • Author: Michelle Dunster - DishesAndDustBunnies.com
Print Recipe
Save Recipe Recipe Saved

Ingredients

  • Fresh pumpkin seeds, it’s okay if some of the insides of the pumpkin are still attached
  • Vegetable oil or olive oil
  • Salt
  • Any desired seasonings to flavour the pumpkin seeds – I enjoy using a bit of cinnamon or some pumpkin spice
    Items Needed:
  • A pot of boiling water
  • Colander or mesh strainer
  • Cookie sheet

Instructions

  1. Preheat the oven to 400°F
  2. Place the pumpkin seeds in a colander and set it in the sink.
  3. Turn on the faucet and rinse the pumpkin seeds with cold water. Use your hands to remove the seeds from any of the insides of the pumpkin that might still be attached. Running the pumpkin seeds under the water will make it much easier to remove any of the excess “pumpkin guts”. Lol
  4. Remove the excess pumpkin guts from the colander and discard.
  5. Give the seeds another quick rinse and place them in a pot of water. Bring to a boil.
  6. Once the pot of water has reached a boil, turn down the heat and simmer for about 10 minutes.
  7. After the seeds have finished boiling, remove them from the pot and drain using the colander. It might be a good idea to let them drain in the colander for about 10 minutes to get rid of some of the excess liquid.
  8. Once the seeds have drained, place them into a mixing bowl add some oil, salt and any other seasonings you might like to use for flavouring. Stir them around to make sure all the seeds are coated.
  9. Spread the seeds out on the cookie sheet and bake in the oven for about 20 – 30 minutes or until they start to look golden. About halfway through roasting, stir the seeds around to make sure they roast evenly.
  10. Once your seeds are done roasting, take the cookie sheet out of the oven and allow to cool to room temperature.
  11. The pumpkin seeds can either be eaten whole (like I like them!) or you can crack the shells to eat the inner part.

Notes

The amounts of the ingredients needed for roasting the pumpkin seeds depends on how many seeds you are roasting. Use amounts you are comfortable with. I usually start with a little less than I think I need, then add more of an ingredient if I think it needs it. You can always add more if you need to! 😀

Did you make this recipe?

If you make this recipe, I'd love to hear about it!
Tag @dishesanddustbunnies on Instagram and hashtag it #dishesanddustbunnies,
and I'll share your pic in my Instagram stories! ❤️

I'd love to hear from you so please feel free to leave a comment in the comment section below! 🙂


_________________________
Hi there! I'm Michelle!
Welcome to Dishes & Dust Bunnies where I share recipes, tips and hints to help make this messy chaotic life as a mom just a little easier! Learn more >>
_________________________

Primary Sidebar

Hi there, I'm Michelle!

Welcome to Dishes & Dust Bunnies where I share recipes, tips and hints to help make this messy chaotic life as a mom just a little easier! Learn more >>

Subscribe to get a free eCookbook with my Top 30 Recipes!
____________________________
Get the latest from Dishes & Dust Bunnies delivered right to your inbox :)

Footer

Follow me!

Dishes & Dust Bunnies

About
Sponsored Content
Media Mentions
FAQs
Contact

Explore

Recipes

For Bloggers

Blogging
Dishes & Dust Bunnies

Privacy Policy - Disclosure
Copyright © 2023 DishesAndDustBunnies.com

Sign up for email updates and get a free eCookbook with my top 25 recipes!
Sign up for email updates and get Top 25 Recipes from Dishes & Dust Bunnies eCookbook FREE!
We hate SPAM and promise to keep your email address safe.
Subscribe to get a free eCookbook with my Top 25 Recipes!
____________________________
Get the latest from Dishes & Dust Bunnies delivered right to your inbox :)
GET IT NOW
.
Did you make this recipe?

Tag @dishesanddustbunnies on Instagram and hashtag it #dishesanddustbunnies

Hi there! This is a message to my readers about the Ultimate Homemaking Bundle. Please check out my post 10 Reasons Why you NEED The Ultimate Homemaking Bundle
Enter your name and email below and I'll send you my free printable Cooking Conversions Chart!
Plus, you'll get FREE email updates whenever a new post is published to Dishes & Dust Bunnies!
Thanks so much!
Your free printable is on it's way!
If you don't see an email from me (Michelle Dunster) within a couple of minutes, be sure to check your spam folder just in case it landed in there!
Subscribe to get a free eCookbook with my Top 25 Recipes!
____________________________
Get the latest from Dishes & Dust Bunnies delivered right to your inbox :)
Get the latest from Dishes & Dust Bunnies delivered right to your inbox!

As thanks, I'll send you a free eCookbook with my Top 25 Recipes! :)

This training has ended. No worries though, I'd love to let you know when new ones are available.
If you don't want to miss out on future trainings or webinars enter your email below and I'll make sure you're the first to know when any new ones are available!
Unfortunately this year's Genius Blogger's Tool Kit sale has ended. The good news is that a new Tool Kit becomes available each year (and occasionally, the current year’s Tool Kit will be offered up again during a flash sale).

If you don’t want to miss out on future opportunities to purchase the Genius Bloggers Tool Kit, enter your email below and I’ll make sure you’re the first to hear when future Tool Kits go live!
Unfortunately enrollment for Elite Blog Academy is currently closed. In order to best serve their students, the doors to EBA are only open for a short time each year.

So you don’t miss out on future opportunities to join EBA, enter your email below and I’ll make sure you’re the first to hear when registration opens again!
Don't forget to like us on Facebook!
Subscribe to get a free eCookbook with my Top 30 Recipes!
____________________________
Get the latest from Dishes & Dust Bunnies delivered right to your inbox :)
_________________________
Hi there! I'm Michelle!
Welcome to Dishes & Dust Bunnies where I share recipes, tips and hints to help make this messy chaotic life as a mom just a little easier! Learn more >>
_________________________
Subscribe to get a free eCookbook with my Top 30 Recipes!
____________________________
Get the latest from Dishes & Dust Bunnies delivered right to your inbox :)
Subscribe to get a free eCookbook with my Top 30 Recipes!
____________________________
Get the latest from Dishes & Dust Bunnies delivered right to your inbox :)
Your information will *never* be shared or sold to a 3rd party.
Need more a bit more help getting started? No worries!
I'm in the process of updating this page to give you more info on getting your blog up and running! I'd love to let you know when I update this page!
Enter your email below and I'll let you know when this page is updated!