
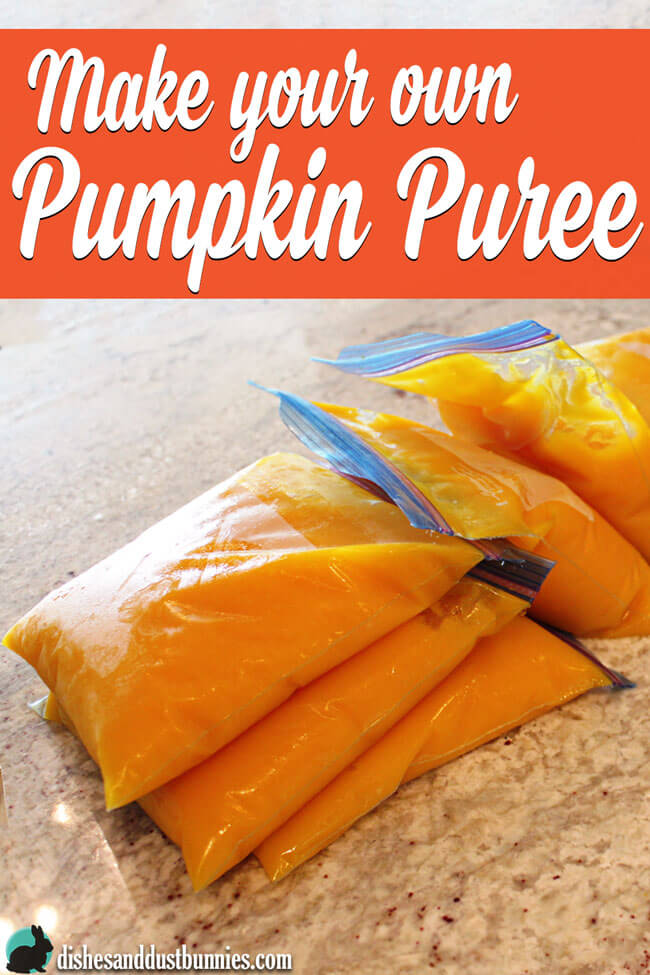
Make Your Own Pumpkin Puree
If you get your hands on some of those lovely pumpkins available this time of year, you might want to consider making some of your own homemade pumpkin purée. It’s actually quite a simple process and really doesn’t take as much effort as you might think.
Making your own pumpkin purée and storing it in the freezer is a great way to make sure that you have those wonderful pumpkin flavours whenever you feel like adding it to your baking.
Homemade purée is a great alternative to store bough canned pumpkin since it’s so much fresher and quite less expensive.
You don’t have to use pumpkin purée just in your baking or for traditional pies. It can be used to flavour soups or even put in smoothies or hot fall drinks. 🙂
While you're here, check out this delicious peach butter recipe from ‘Baby Savers'!
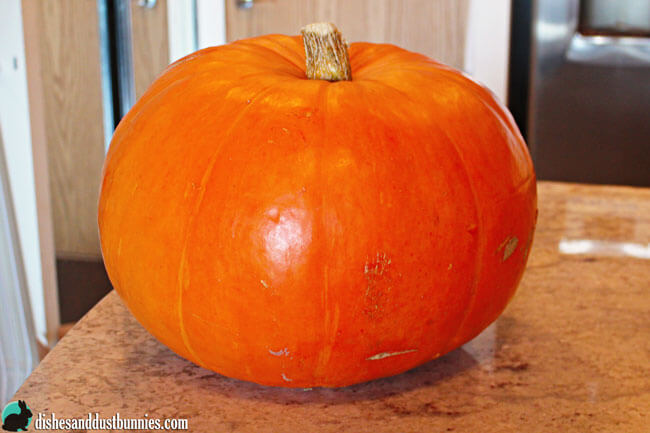
For this post I used one giant 25-pound pumpkin, but you can use any size pumpkin you like. This big fellow made so much purée that it will likely be enough for all my pumpkin recipes this season!
I’m so excited to get started with making all sorts of pumpkin treats!
That's a lot of pumpkin!
I hope you find this post helpful! If you make you own puree, please add a picture of the goodies you make in the comment section below!
I’d love to see what you make! 🙂
Make Your Own Pumpkin Puree
Ingredients
- A pumpkin or several small pumpkins
- A sharp knife
- A large sturdy metal spoon
- A cookie sheet, or several cookie sheets depending on how big your pumpkin is
- 2–3 good sized mixing bowls, size depends on how big of a pumpkin you have
- A food processor or hand blender
- A sieve or strainer
- Some cheesecloth
- some zip top baggies for storing your purée in the freezer
Instructions
- Preheat the oven to 350°F.
- Take any size pumpkin and cut the top off. Do this the same as you would if you were carving a jack-o’-lantern.
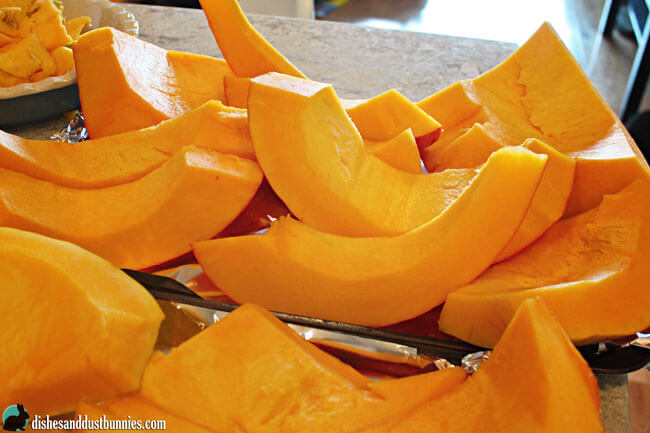
- Next, cut the pumpkin into wedges or large chunks while leaving the skin on. If you have a smaller pumpkin, you may only have to cut them in half.
- Using your knife or the sturdy metal spoon, scrape off the pumpkin seeds and insides. Place them into a bowl and set aside if you’re going to make roasted pumpkin seeds (I’ll be doing follow-up post about roasting pumpkin seeds).
- Place the pumpkin wedges or halves onto a cookie sheet and out in the oven to cook. The time that the pumpkin needs to cook depends on how big of a pumpkin you’re working with. The one I used for this post was a 25 lbs so it cooked for about 2 hours.
- Before removing the pumpkin from the oven, make sure you test it by poking it with a fork or another sharp object. You’ll know it’s ready to come out of the oven once it’s reached a softness almost like a baked potato.
- Once ready, remove the pumpkin from the oven and allow it to cool for a little while before moving onto the next. I like to let the pumpkin cool down almost to room temperature since steam releases as it cools. I find that giving the pumpkin some time for the steam to release helps remove some of the excess moisture before being pureed. It’s up to you how long you’d like to wait though – just don’t burn your hands!
- Once the pumpkin is cool enough to work with scoop the cooked pumpkin away from the skin and place it into the food processor to process. The cooked pumpkin should come away from the skin very easily. If you’re using a hand blender, place the pumpkin into a large mixing bowl.
- Purée the pumpkin until you reach a smooth consistency. You may need to process the pumpkin in several batches depending on how much you’re working with.
- At this point, if you’d like it to have a consistency similar to the store-bought kind, you can place the puréed pumpkin in some cheese cloth in a sieve or strainer to drain over the sink. This will get help remove any excess moisture.
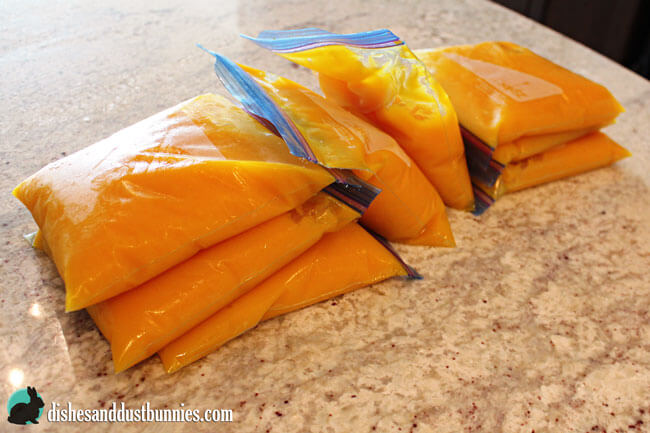
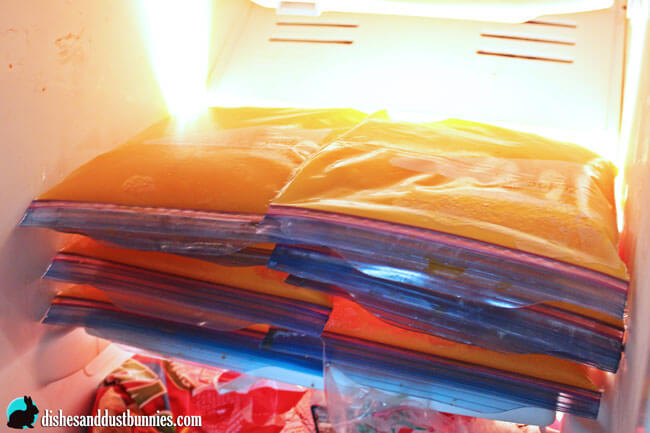
- Place the puréed pumpkin into the zip top freezer bags. Squeeze out the air and store flat in the freezer.
Notes
I find it’s helpful to store them in pre-measured amounts and mark it on the outside of the bag using a sharpie. This way I know how much to take out of the freezer for a recipe.
I'd love to hear from you so please feel free to leave a comment in the comment section below! 🙂