
Homemade Baklava
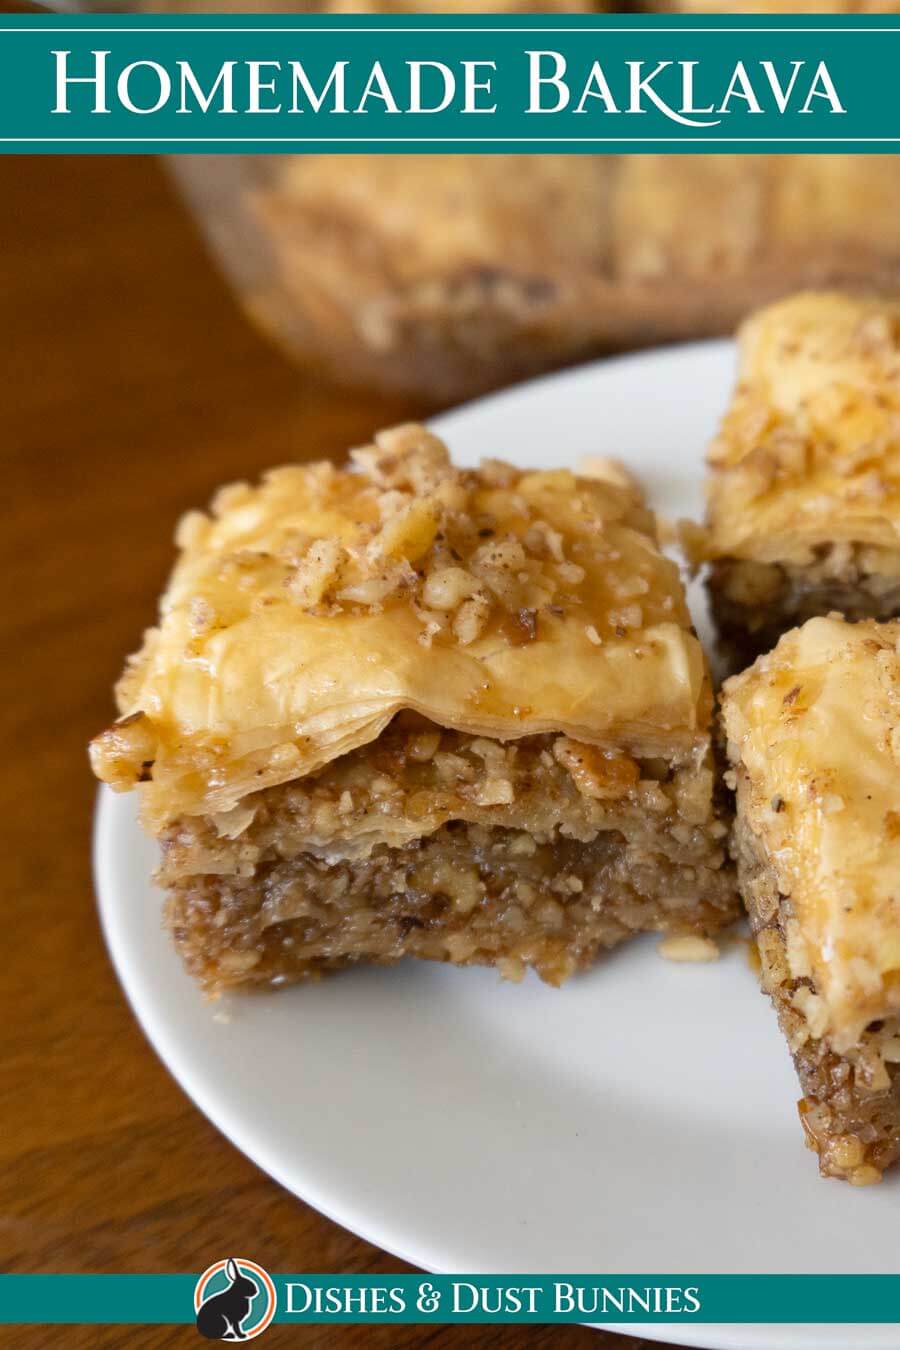
This classic and easy homemade baklava recipe is quick to make, with cinnamon and cloves, spiced walnuts layered between flaky sheets of phyllo pastry, and drizzled with an incredible honey syrup. It makes a wonderful dessert for any time of the year but is known to be quite popular at Christmas time and the holidays.
In this post, you'll learn how to make baklava at home – and it's a lot easier than you'd think!
Have you ever looked at something and just… fallen completely in love with it? I mean foodwise? Well, I'm in love with this handsome pastry!
When I tried baklava for the first time years ago, I just had to start making some of my own.
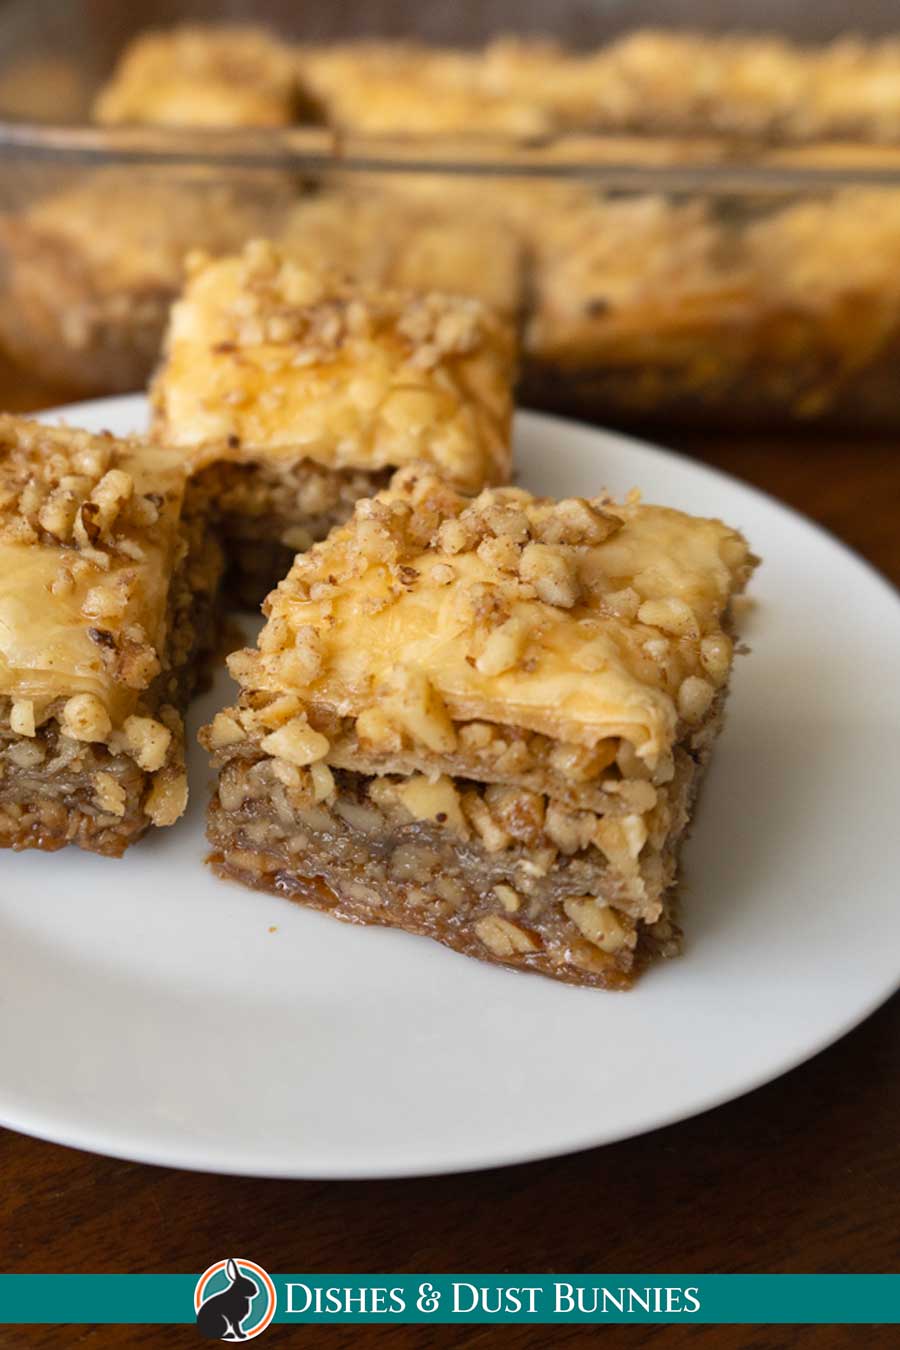
It makes for an absolutely perfect dessert… with it's flaky layers of baked pastry glazed in sticky sweet honey, spices and nuts. Completely irresistible. See why I'm in love? 🙂
I hope you enjoy this recipe! ❤️ If you give it a try, please let me know how it turned out for you in the comments section at the bottom of the page or share a pic of your om noms on Instagram and tag @dishesanddustbunnies! ❤️
*This post has been updated from an earlier version to include new photos and a few tweaks to the original recipe to make it even more scrumptious!*
What is Baklava
Baklava is a delicious dessert made from layers of phyllo, butter, spiced nuts and soaked in a honey syrup. Several different cultures have their own different ways of making baklava – there are Greek, Turkish, Lebanese and Middle Eastern versions of this amazingly scrumptious dessert.
In today's post, this recipe is based on Greek baklava ingredients. In future posts, I'll share with you some different versions!
What is the difference between Turkish and Greek Baklava?
Different cultures have different ways of preparing baklava recipes using different baklava ingredients and these recipes vary from country to country and even from region to region within these countries.
Greek baklava primarily uses walnuts whereas Turkish baklava is primarily made with pistachio as the nut filling of choice.
Greek baklava is flavored with honey syrup whereas Turkish baklava is flavored with sugar syrup. The sugar syrup makes for a moister dish than the comparatively dryer Greek baklava. Other flavorings like rose water are commonly found in Turkish baklava.
Lebanese baklava is usually lighter on the sugar syrup and is also flavored with orange blossom water.
What ingredients are used to make Baklava?
Baklava is a rich, sweet pastry made of layers of phyllo sheets filled with finely chopped nuts and held together with syrup or honey. It is popular in many Middle Eastern and Balkan countries. In this post, I'm sharing a Greek-inspired version of baklava with you, which is likely the one most readers are familiar with.
Phyllo pastry – No matter which kind of baklava you try, phyllo pastry is always used as it creates a wonderful flaky texture with its layers of phyllo sheets.
Oftentimes phyllo sheets are stored in the freezer section of the grocery store. Before you begin making you baklava, make sure you have completely thawed phyllo sheets!
Nuts and spices – This Greek-inspired baklava recipe uses chopped walnuts. Traditionally Middle Eastern baklava uses chopped pistachios instead (alongside pine nuts). Hazelnuts, almonds, and cashews are also nuts that work well in a baklava recipe. You don't need to limit yourself to one type of nut however, it is possible to use a nut mixture, a combination of the aforementioned nuts too.
The nut mixture is seasoned with ground cinnamon and nutmeg and finely chopped in a food processor. You can optionally add in other seasonings to the nuts such as cloves, or you can add lemon juice. The baklava soaks this right up.
Usually, Middle Eastern style baklava is also flavored with rose water which gives it a distinctive scent as well.
Melted butter – this is used to brush onto the phyllo pastry in between layers.
Honey Syrup – Once the pastry has baked in the oven, a syrup made of a combination of honey, sugar, a little water, vanilla and some lemon juice is poured over the top. This syrup is used to top the baklava but during the baking process it will seep into the nut mixture filling and become a part of the filling as well. Sticky and sweet – just right!
What are some Baklava recipe variations?
Homemade Baklava is very versatile and you can take inspiration from the various cultures who each make baklava a bit differently to come up with your own preferred method of making it.
Here are some variations that stray from the recipe presented here but can be perfect for your own taste:
- Try using a nut mixture for the filling rather than just one nut. Pistachios, almonds and chopped walnuts can be a rich and complex filling when combined together.
- For a spicier flavor, add a teaspoon of ground cloves or ground cinnamon to the nut mixture filling.
- For a sweeter baklava, use honey instead of syrup.
- To make a chocolate baklava, add some chopped dark chocolate to the filling.
Be sure to see the recipe card at the bottom of the post for full ingredients & instructions!
How to Make Homemade Baklava – Overview
Want to know a secret? Baklava actually isn't hard to make! Yes, I'm completely serious. 🙂
This kind of dessert looks SUPER impressive but doesn't really take as much effort as it looks— my kind of dessert!
To make baklava at home without much hassle, make sure you have each of the recipe components ready to go. Make that irresistible glaze/syrup – set it aside.
Process those walnuts (or whatever nut mixture you like) with the spices, finely chop them so they're in small pieces – set it aside. You can use a food processor or chop them by hand.
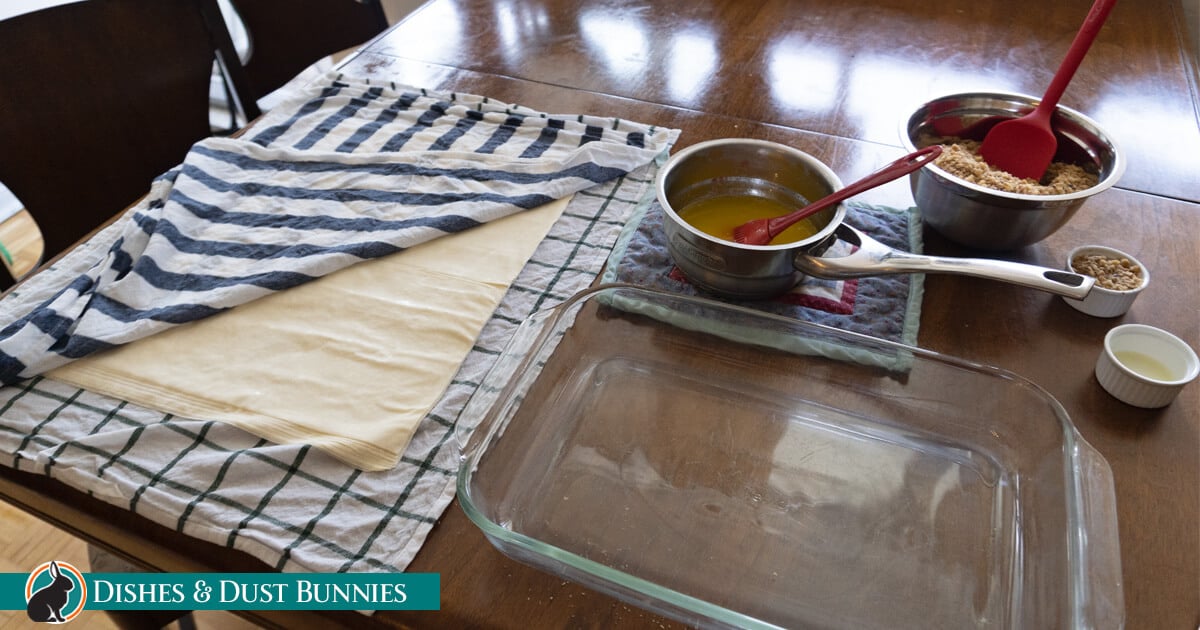

Lay out your phyllo sheets flat between two damp dish towels, so they don't dry out while you work. Have your dish of melted unsalted butter on hand.
The key to making the best baklava you can is in the layering. You want to use very thin sheets of phyllo dough and use a pastry brush to make sure each phyllo sheet is well-coated with butter before adding the next one. The more layers of phyllo sheets you have, the flakier and more delicious your baklava will be.
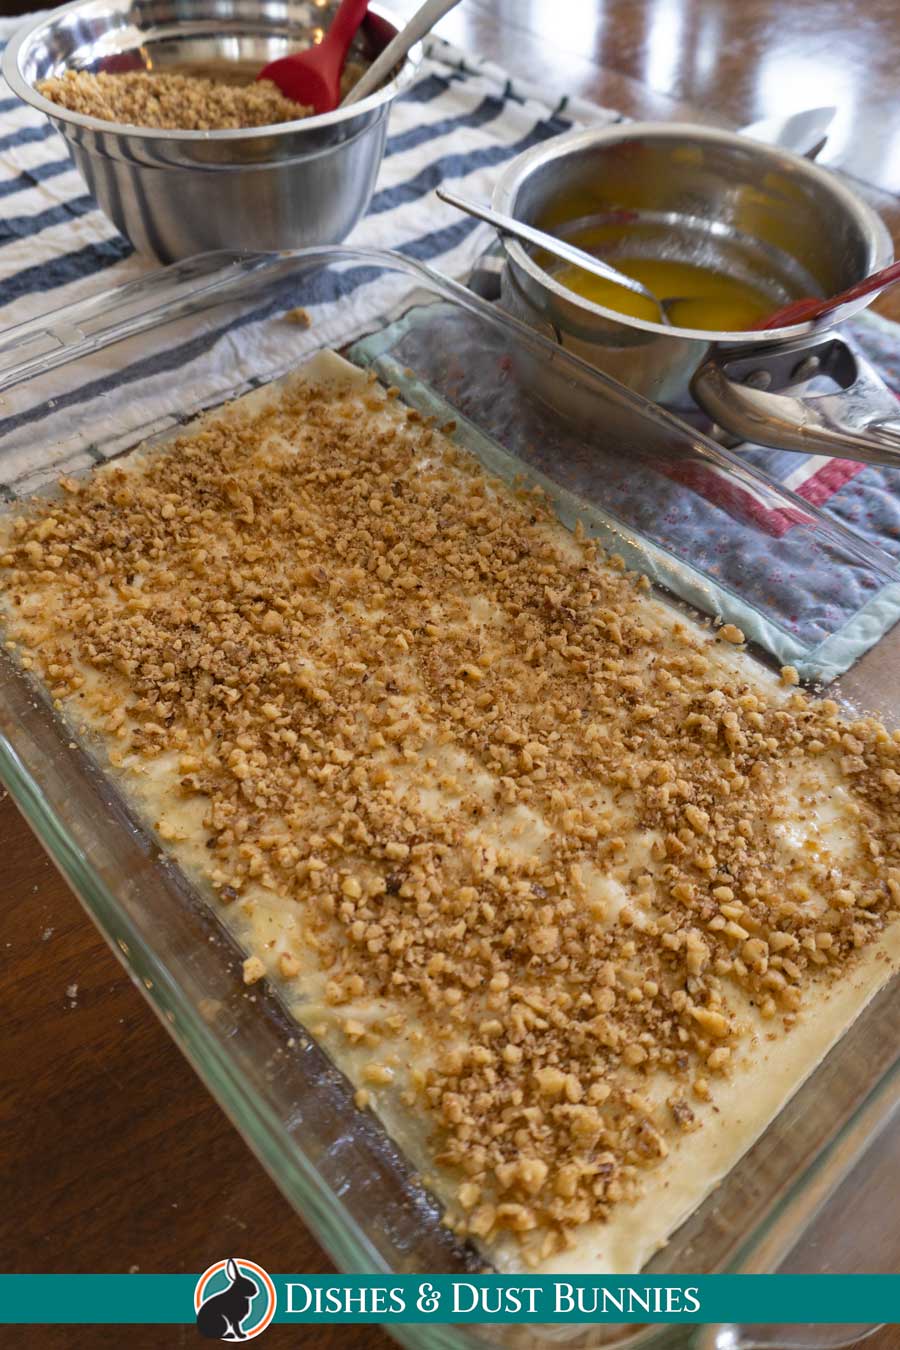
I like to lay out 4 layers of phyllo pastry (brushed with butter), then add the nut mixture evenly over top, next repeat this layer pattern until all the nuts have been used. Make sure your final top layer is 4 sheets of phyllo.
Next, using a very sharp knife (such as a sharp paring knife), cut the baklava into square or diamond shaped pieces, then back in the oven until golden. It's important to cut the pastry BEFORE baking.
The syrup for baklava is usually a simple mixture of sugar and water, but you can also add honey or other flavorings if you like. You can add some orange zest or lemon peel too if you like! It's important to cook the syrup until it is nice and thick so that it will soak into the layers of the phyllo pastry.
Once those crunchy little pastries are done baking, pour the cooled syrup over the top and allow them to soak it up. Let the hot baklava cool completely and sit for a while to get to the right stickiness.
Then, eat them up! haha The easiest part is eating them. 🙂
Is Baklava a healthy dessert?
The ingredients found in baklava such as dough, nuts and honey are not unhealthy, but when combined they make quite a heavy treat. However, there are some health benefits to baklava.
Baklava is a good source of several vitamins and minerals, including iron, magnesium, and zinc. It also contains antioxidants that can help protect your cells from damage.
What is the pastry in Baklava called?
The pastry in baklava is called phyllo dough. Phyllo dough is a paper-thin unleavened dough that is used in many Greek and Middle Eastern dishes. It is traditionally made with flour, water and olive oil. The sheets of phyllo pastry are called leaves.
Is Phyllo Dough the same as Puff Pastry sheets?
A phyllo sheet is much thinner than a puff pastry sheet, in fact, one sheet of phyllo is almost as thin as leaves or tissue paper. When baked, phyllo dough will become firm and brittle, and is quite crisp, flaky and fragile. Compared to puff pastry, a sheet of phyllo is a lot more crunchy when you bite into it.
Phyllo dough has significantly less fat in it than puff pastry sheets, puff pastry has butter in it and phyllo dough is mostly water and flour. Phyllo dough is a lot less rich than puff pastry.
While puff pastry is very versatile, but it's not the same as phyllo pastry. Baklava should always be made using phyllo pastry.
What kind of pan should I use for Baklava?
Can I use an aluminum pan or glass dish?
Baklava is traditionally baked in a large rectangular baking pan. The height of the baking pan will depend on how many layers of phyllo dough you are using.
For this recipe, I recommend using a 9×13 inch pan which is perfect for the phyllo sheets. Your baklava should fill the perimeter of the entire pan.
Any nonstick metal baking pan works for making baklava. Glass pans are possible to use too and they make for an easier clean-up.
Can you cut the Baklava after baking?
No you cannot! It's virtually impossible to cut baklava after it's been baked, the whole thing will crumble and fall apart. If you try to cut the baklava after baking, you will not get nice individual pieces, and the whole thing will be crumbled.
Cut the baklava into diamond shaped or square shaped pieces with a very sharp knife (such as a paring knife) while the phyllo pastry is wet and in the baking dish prior to baking.
Be sure to see the recipe card at the bottom of the post for full ingredients & instructions!
How do I make sure Baklava gets crispy?
How to prevent it from getting soggy or from falling apart?
One of the main complaints about baklava is its often soggy bottom layer. This occurs when baklava has absorbed too much water from the syrup and as a result, a wet bottom layer results instead of the crisp and flaky dish you were looking for.
Make sure that you are using a pan that is the correct size for the amount of baklava you are making. If your pan is too large, the syrup will spread out on the bottom of the dish instead of absorbing into all the layers of the baklava.
Make sure to use just the right amount of syrup. The syrup should be at least as thick as honey for the baklava to stay crisp. When cooking your syrup on the stove it's important to allow it enough time to reduce and thicken up enough. A runny, liquidy syrup will result in soggy baklava.
When storing: Wrap the baklava in plastic wrap and store in an airtight container when storing baklava in the refrigerator overnight. The moisture from the fridge can make the already delicate sheets of phyllo a bit more soggy than they were previously.
The key to making sure your baklava pastry is crispy, and not soggy, is to make sure that you are cooking it for long enough. The dough should be cooked until it is golden brown and flaky. If the dough is not cooked enough, it will be soggy.
The syrup is cooked separately in a pot on the stove and it's important to allow it to reduce long enough so that it thickens and is not too watery. If the syrup is too watery your baklava will be soggy.
When you are ready to serve the baklava, be sure to immediately drizzle the syrup evenly over it while it is still warm. This will help the syrup to penetrate the layers of dough and will keep the baklava from getting soggy. Just let your baklava sit and wait till the hot baklava is room temperature before eating!
Using these tips in addition to cutting your baklava prior to baking will keep your baklava from falling apart. Also, if you're using frozen phyllo dough, make sure to thaw it completely before using it. This will help prevent your baklava from falling apart as the phyllo sheets will be too brittle if only partly thawed.
How do you keep Baklava from sticking to the pan?
The best way to prevent your baklava from sticking to the pan is to use a non-stick baking spray. In addition or alternatively you can also line the pan with parchment paper. Make sure to coat the bottom and sides of the pan with the spray or lining.
At what temperature do you Eat Baklava?
Baklava is best served at room temperature in an airtight container. If you have stored it in the fridge, let it sit out for 30 minutes before serving. Similarly, let your hot baklava become completely cooled before eating.
Is Baklava better the next day?
Refrigerate overnight and by the next day, the syrup will have soaked into the layers of phyllo sheets and the honey mixture and all the flavors will have melded together. The flavors will have developed more by the next day and it is my favorite time to consume this desert.
How to store homemade Baklava
How long does homemade Baklava last?
Homemade baklava should be stored in an airtight container at either room temperature or in the fridge. I prefer to keep my baklava at room temperature as it keeps the texture and stickiness of the syrup just right.
Whichever way you decided to store baklava, it should be good for about two weeks. Honestly, though, we've always eaten our baklava within a few days of making it because it's so yummy!
Can you freeze Baklava?
Once baked, soaked in syrup, and cooled, you can wrap the baklava in plastic wrap and then place them in an air-tight container. They should be good for about 4 months in the freezer. When freezing them, I'd recommend packaging them in small batches so you can take a few pieces out as needed.
To eat after freezing, allow them to thaw on the counter at room temperature for a few hours or overnight.
What to Serve with Baklava?
If you're looking for something to serve with your baklava, here are a few ideas:
- Traditionally the room temperature baklava is served with a hot drink such as coffee or tea.
- Vanilla ice cream
- Fresh berries
- Whipped cream
- Cinnamon sticks
- A bowl of chopped nuts or mixed nuts
Other Recipes you'll enjoy:
Homemade Baklava
- Total Time: 1 hour 5 minutes
- Yield: 28 squares 1x
Ingredients
- 4 1/4 cups walnuts (you can use a combination of nuts if you like ex. pistachios and walnuts)
- 1 1/4 tsp cinnamon
- Pinch of ground cloves
- 1 stick unsalted butter, melted
- 1 package (16 oz) Phyllo pastry – I cut mine in half to fit the shape of the baking dish and used about 2/3 of the package
Honey Syrup Ingredients:
- 1/2 cup water
- 1 cup sugar
- 2/3 cup honey
- 1 tsp vanilla
- 1 tsp lemon juice
Special Items Needed:
- 9“x13” glass baking dish
- Pastry brush
- 2 damp dish towels

Instructions
How to Make Homemade Baklava
Before assembling your baklava, please have all your ingredients ready. Prepare the nuts and spices, the honey syrup, and lay out your phyllo pastry between 2 damp dish towels. This recipe is super easy to make; follow the instructions below. 😋
- Before beginning, preheat the oven to 350°F.
Prepare the Honey Syrup
- In a saucepan on medium heat, combine the ingredients for the syrup – except for the lemon juice – set this aside until needed.
- Use a whisk to combine the ingredients, dissolving the sugar and honey into the water.
- Bring the glaze to a boil, stirring continuously for 3 minutes.
- Turn down the heat and continue to heat the syrup until it has thickened and becomes the consistency of a light syrup. About 10-15 minutes. You can allow the syrup to reduce while you prepare the other ingredients.
- Once the syrup reaches the desired consistency, remove it from the heat and allow it to cool slightly.
- Add the lemon juice and whisk to combine. Set this aside until needed at the end when the pastry comes out of the oven.
Prepare the Nuts and Spices
- To a food processor, add the nuts, cinnamon and ground cloves.
- Process until the nuts have been broken up into small pieces. Be careful to avoid processing the nuts too much – you don't want them powdered.
- Take a couple of spoon fulls of the nuts (couple tablespoons) and set them aside for sprinkling on top of the baklava at the end.
- Set aside the nuts until needed.
How to assemble the Baklava:
- Lay out your damp (not super wet) dish towels on the countertop. Lay the phyllo pastry out – flat between the two damp towels. This is important in preventing the pastry from drying out and cracking. As you create the layers in the next steps, make sure you re-cover the pasty with the top towel, so it doesn't dry out.
- Please have your melted butter, prepared nuts, honey syrup and everything laid out and ready to assemble.
- Brush some melted butter on the bottom of the baking dish.
- On top of the butter lay 2 – 4 sheets of pastry. (I find that 4 is a good number)
- On top of the pastry, brush on some melted butter.
- Sprinkle on top of the melted butter, some of the spiced nuts
- Repeat layering until all the nuts have been used. Layer order: Pastry, butter, nuts. The top and final layer should be pastry, then butter.
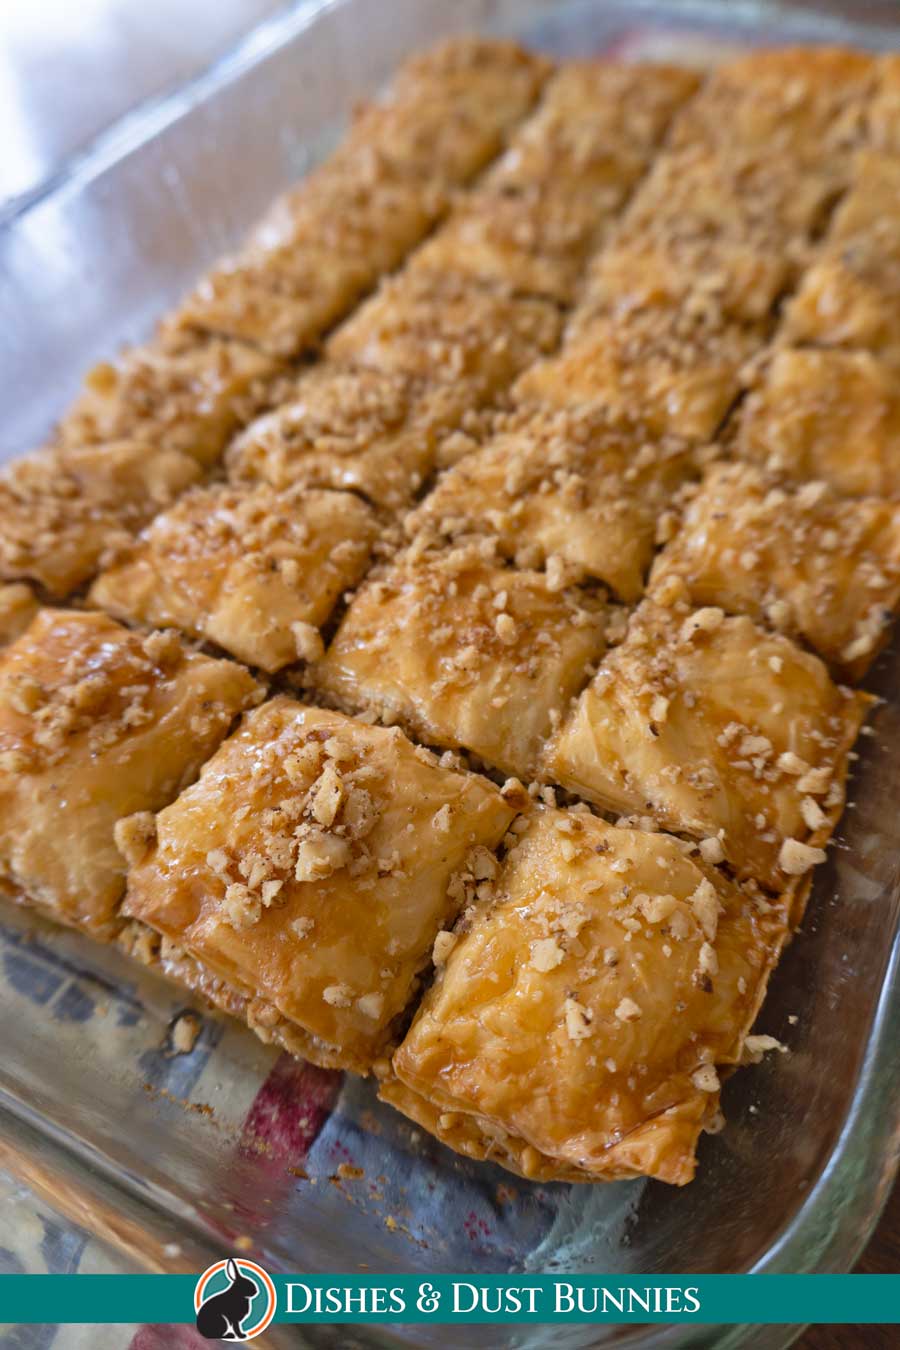
- Using a very sharp knife, cut the baklava into squares about 1 inch (4 rows by 7 to make a total of 28 squares). For the knife to cut easily, you can brush it with butter first.
- Put the baklava into the oven and bake for about 45 minutes or until the tops become golden.
- Once the baklava comes out of the oven, pour the glaze/syrup evenly over the top. Make sure you do this while the baklava is still hot.
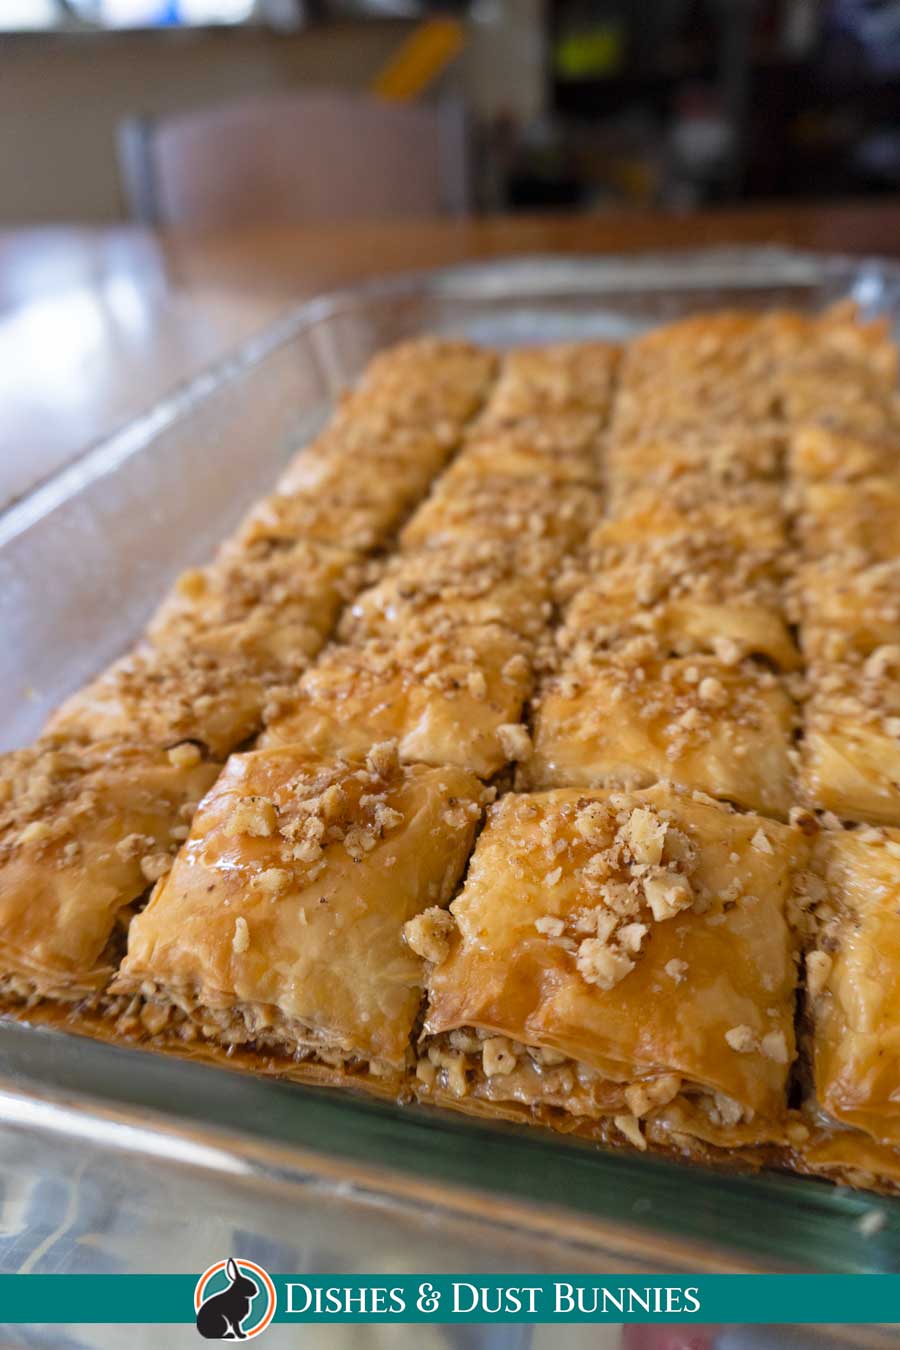
- After pouring the syrup, sprinkle the reserved nuts over each square to make them look pretty! 😋
- Allow the baklava to cool for at least a couple of hours before serving. If you'd like, you can also allow it to settle overnight before serving, but I find a couple of hours to sit works fine.
- Prep Time: 20 mins
- Cook Time: 45 mins
- Category: Dessert
- Method: Bake