
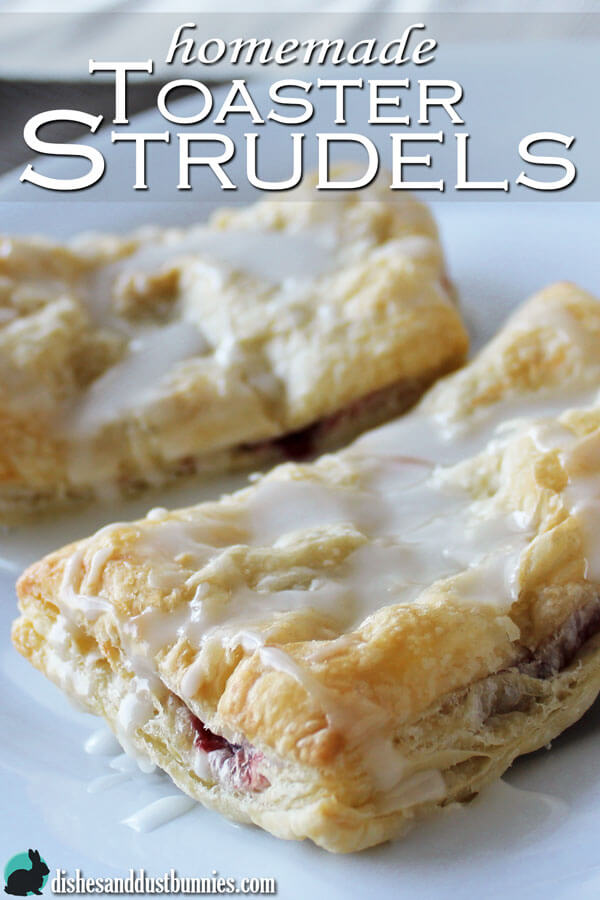
Homemade Toaster Strudel Pastries
These toaster strudels are so easy to make and are perfect for a sweet treat!
Once you bake the strudels, they can be frozen and re-heated in the toaster oven for when you need them. That's pretty convenient!
It seems that lately I've been posting a lot of things that have to do with a trip down memory lane! lol
Today's post is no different! One childhood favorite of mine was those little toaster strudel pastries that you could get in the freezer section of the grocery store.
I was a pretty picky eater when it came to breakfasts as a kid so I do recall having quite a few of these!
These strudels are created using ready-made puff pastry dough, but you can certainly use your own homemade dough if you'd like.
Once you have your dough rolled out and cut into rectangles it's just a matter of laying down whatever filling you fancy most!
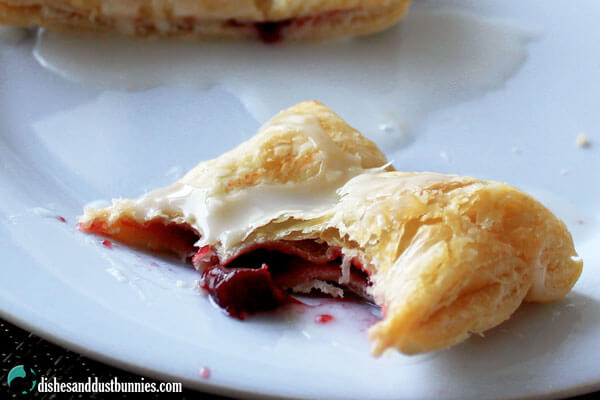
When I was a kid I really liked the apple pie filled strudels but for this recipe I used some strawberry jam.
I know I say this all the time, but seriously, use your imagination!
What do you want in your strudel?
If you think it would up the yumminess factor, put it in there!! 😀
Maybe some chocolate and marshmallow? *hint hint*
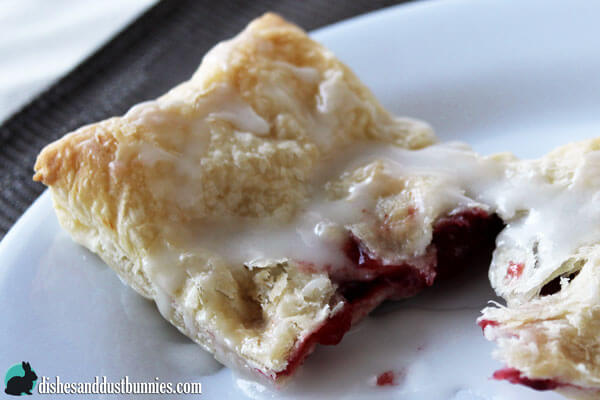
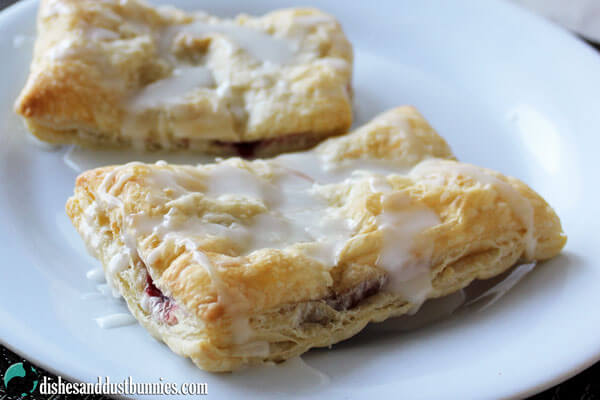
Once you bake these in the oven they become moist, flakey and so irresistible!
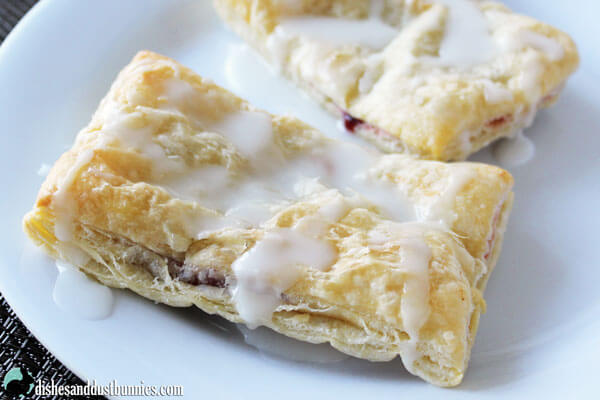
Homemade icing on top of these lovely little pastries makes everything go to the next level. I think I may have gone a little overboard with the icing since it was so good…lol
Tips for Freezing the Toaster Strudels
- Once baked and cooled, wrap each pastry in parchment paper before placing into the freezer container/bag. This will prevent them from sticking to each other.
- When re-heating, these work best in a horizontal style toaster oven. I haven't tried these in the old pop-up style toaster, but I would be worried of my filling jumping out! lol
- When re-heating, keep in mind that oven temperatures vary. For my toaster oven, it takes these about 5-6 minutes to crisp up and heat through. Your oven may take more or less time.
- Icing should be added after they've been heated and ready to eat. Freezing the strudels with the icing on them will change the texture when they're reheated. It's much better to put the icing on fresh and when you're ready to eat them.
- If you want to assemble the strudels ahead of time and freeze them unbaked:
- When you take them out to bake them, add 10 minutes to the baking time in the recipe below, but keep an eye on them. Puff pastry generally works quite well baked straight from frozen.
Check out my recipe below! I hope you enjoy them! 🙂
Homemade Toaster Strudel Pastries
- Yield: Makes 6 Strudels 1x
Ingredients
- 2 10″x10″ sheets of puff pastry (homemade or store bought)
- 3/4 cup of your choice for filling (I used strawberry jam)
Icing - 1/4 cup powdered sugar
- 1/8 tsp vanilla
- 1/2 tbsp of whole milk or cream (is using cream you may need to add a little more than 1/2 tbsp)
Instructions
- Pre-heat the oven to 375°F.
- On a lightly floured surface, lay out each sheet of puff pastry.
- Cut each sheet in 6 rectangles – you should have 12 in total, roughly the same size.
- Onto 6 of the rectangles spoon some of your filling. Make sure that the filling is about 1/2″ away from the sides.
- Wet your index finger lightly with a little water (you only need a small amount of water).
- Run your wet finger along the edges of each rectangle (only the ones you put the filling on).
- Then place the other 6 rectangles over each of the ones with the filling.
- Using your fingers press down the sides to make sure the strudels are sealed.
- Using a fork, you can press down the edges again.
- Once each of the strudels are sealed, place them onto a cookie sheet lined with parchment paper.
- Bake in the oven for about 20 minutes or until golden.
To make the icing: - Combine the powdered sugar, vanilla and cream (or whole milk) using a fork or a small whisk.
- Once strudels have come out of the oven and have cooled, drizzle the tops with the icing.
Notes
If you plan to freeze these after being baked, you can re-heat them in the toaster oven for a few minutes to serve. While the warm-up time for these will vary depending on your own ovens temperature, mine usually take about 5-6 minutes to crisp up again.
- Category: Breakfast
Oh wow, my husband would love this recipe! He loves a good strudel. I usually buy the store bought toaster strudels, not as good I am sure!
These look and sound so delicious! I would love to make these sometime! Thanks for sharing.
Ok toaster strudels use to be a childhood favorite of mine! Never thought of making homemade ones. These look delicious!
This looks amaZing. I have never made pastry at home. I have to give it a try
I would definitely love your idea of putting chocolates and marshmallows. By the look of it, I know this is something I want to eat and enjoy. Thanks for sharing the recipe.
I’ve tried to make things using puff pastry with no luck. I cannot believe you made these and they weren’t store bought. Yum!
These look so delicious. I have to try making them this weekend. I hope mine turn out as good as yours. My family will love them.
You had me ‘homemade!’ These sound delicious…and I’m sure my kids would love them!
I need to try this soon. I had to give up the frozen version because it wasn’t agreeing with my system anymore. Thanks for the recipe, Michelle!
My son and husband love toaster strudel pastries. I will definitely make some of my own sometime!
I used to love toaster strudels when I was younger!! I would love to make the homemade version now!! Thanks for the yummy recipe!!
Oh how delicious, I’ve never even heard of toaster strudel before. All my family love strudel so this would be a fun treat for them 🙂
OMG, these look awesome! Reminds me of pastries that I eat from the Latino bakeries. Can’t wait to try them with different fillings – guava, cheese… yum!
These look amazing! This is so much better than store bought! I don’t buy them and my kids are often bummed so this is a much better alternative!
These seriously look amazing. So flaky and soft. I bet they just melt in your mouth. My kids love pastries. So yummy!
These look so delicious and would go perfectly with my morning coffee right about now 🙂
These look and sound totally amazing indeed which I know I will be making these for sure. I love the toaster strudel pastries and my family would totally love these. Thanks so much for sharing.
Okay, I’m DYING over here. Toaster Strudels totally take me back to my childhood! Yours look sooooooo good and I can’t wait to make these! Ohh, and hey…no such thing as going overboard on Icing. 😀
I love these! They are okay from the store, but homemade looks even better. And I am sure they taste amazing! YUM!
As much money as my husband spends on store bought, he’s going to LOVE waking up to a fresh batch of these babies! 😀
Oooohhhh! Toaster strudel is one of my favorite breakfast pastries. Unfortunately, I don’t get it often enough. Making them at home would be a fun and tasty idea! Thanks!
Oh my those look so good! They remind me of pick me ups but these look wayy better! Thanks for the recipe.
Ok I just have to try these! I’d love to make some of them and freeze them for each morning.
I don’t eat pastries at all, but these would sure be great to make when I have company. No one wants to eat like I do.
ooh these look so yummy! perfect to make for weekend breakfasts at home!
Those look amazing. That’s SO much better than something popping up out of the toaster. Yum!
I want to lick that frosting right now. Those sound so good. I am definitely trying these.