
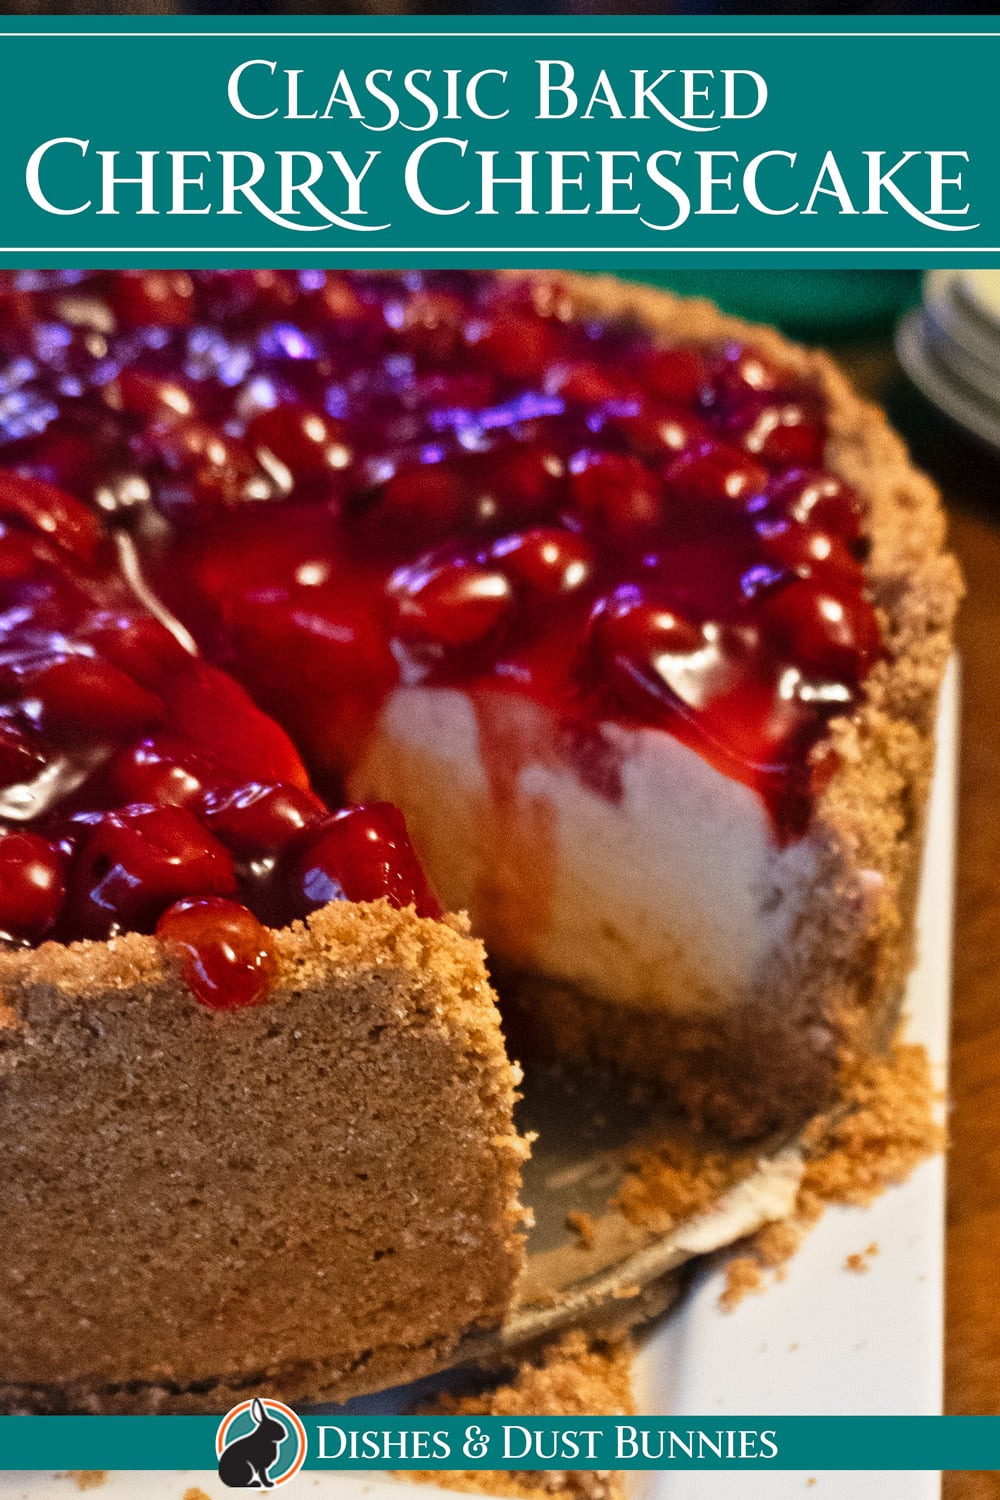
Classic Baked Cherry Cheesecake
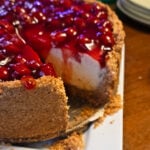
This classic baked cherry cheesecake is rich, creamy, and layered with a thick, cookie-like graham cracker crust that holds up beautifully. Topped with luscious cherry pie filling, it’s an easy, no-fuss dessert that looks impressive and always delivers on flavour.
There were a lot of birthdays to celebrate all at once when I made this cheesecake.
My mother was visiting from New Brunswick during March break, and her birthday landed right in the middle of her trip. My oldest son’s birthday was the day before, and mine is just a few days later, so it turned into a full stretch of celebrations. My sister was here too, and with Paul and our 2-year-old Richard right in the middle of it all, the house felt full in the best way.
It felt really special to be able to share that time together. Since I live in Toronto, we’re pretty far apart and don’t get to see each other often—usually just once a year since the COVID days—so having everyone in one place meant a lot.
I decided to make this cherry cheesecake instead of a traditional birthday cake because I remembered how much she loves this kind. It felt like something a little more special while she was here.
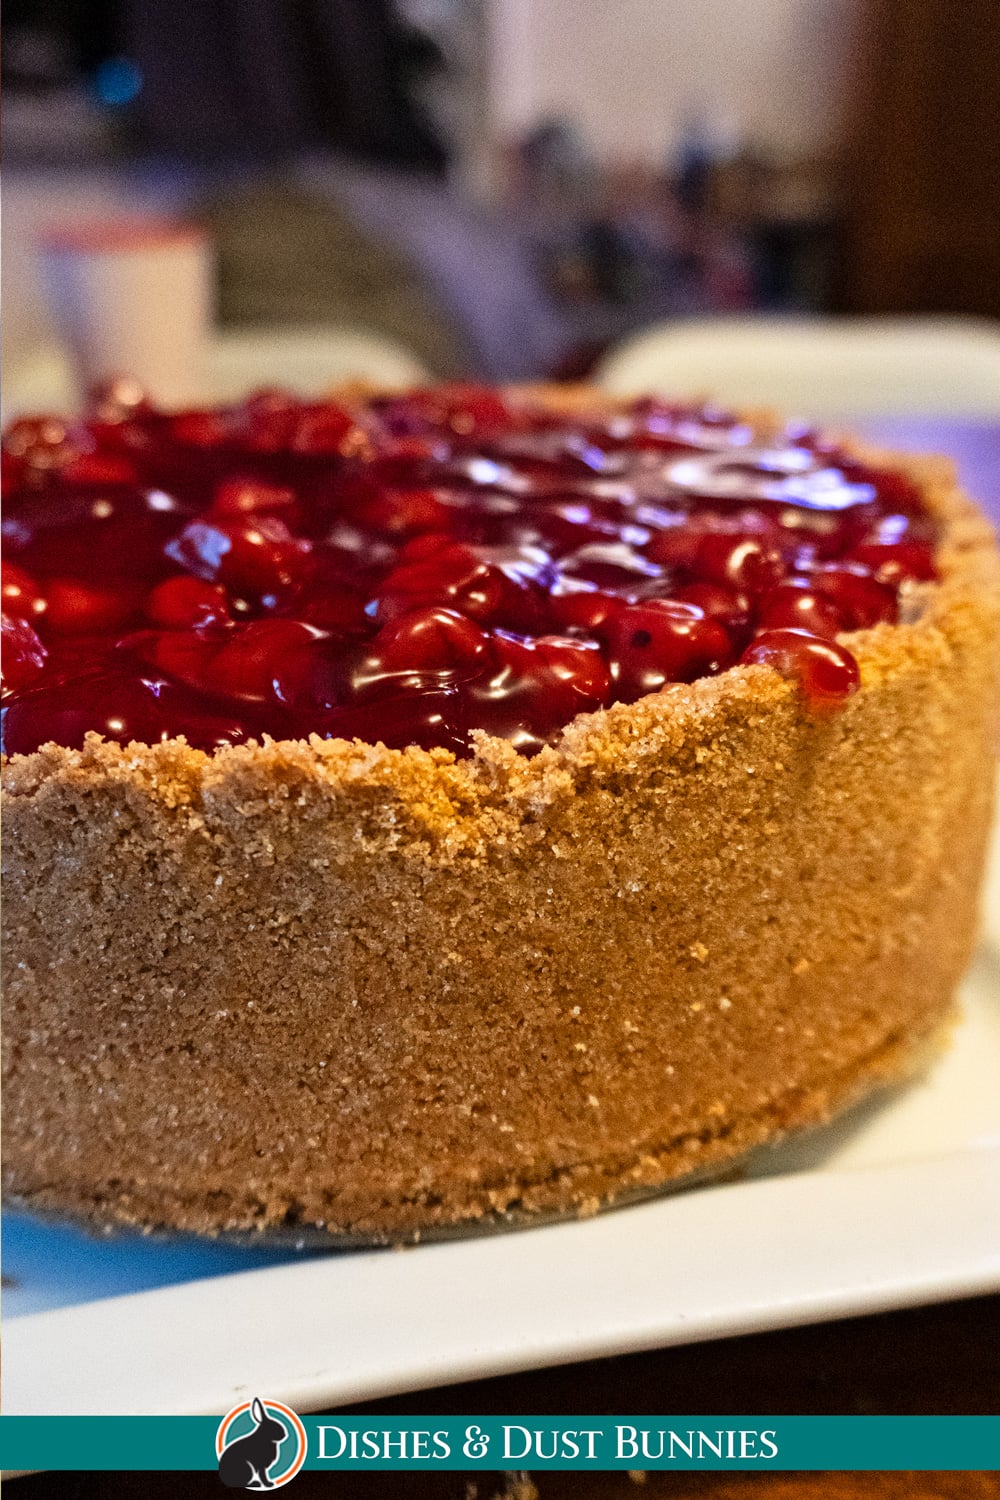
It’s actually much easier to make than you’d expect, and when it came out of the oven, it looked absolutely gorgeous. We all loved it—and it disappeared pretty quickly.
I hope you enjoy this recipe! ❤️ If you give it a try, please let me know how it turned out for you in the comments section at the bottom of the page or share a pic of your om noms on Instagram and tag @dishesanddustbunnies! ❤️
Why You’ll Love This Recipe
This cheesecake is rich, creamy, and surprisingly easy to make—no complicated steps or water bath needed. The thick, cookie-like graham cracker crust gives it something extra and holds up beautifully when sliced. It’s a classic dessert that looks impressive and always gets people coming back for another piece.
Be sure to see the recipe card at the bottom of the post for full ingredients & instructions!
How to make classic baked cherry cheesecake – Overview
You can find the full recipe details, including ingredient amounts and the full instructions in the recipe card at the bottom of this post, but first, here's a quick overview of how to make classic baked cherry cheesecake!
This cheesecake comes together in a few simple steps. You’ll start by making a thick graham cracker crust and pressing it into your pan, including up the sides for that signature cookie-like layer.
Next, the filling is mixed until smooth and creamy, then poured right into the crust and baked until set with a slight jiggle in the centre.
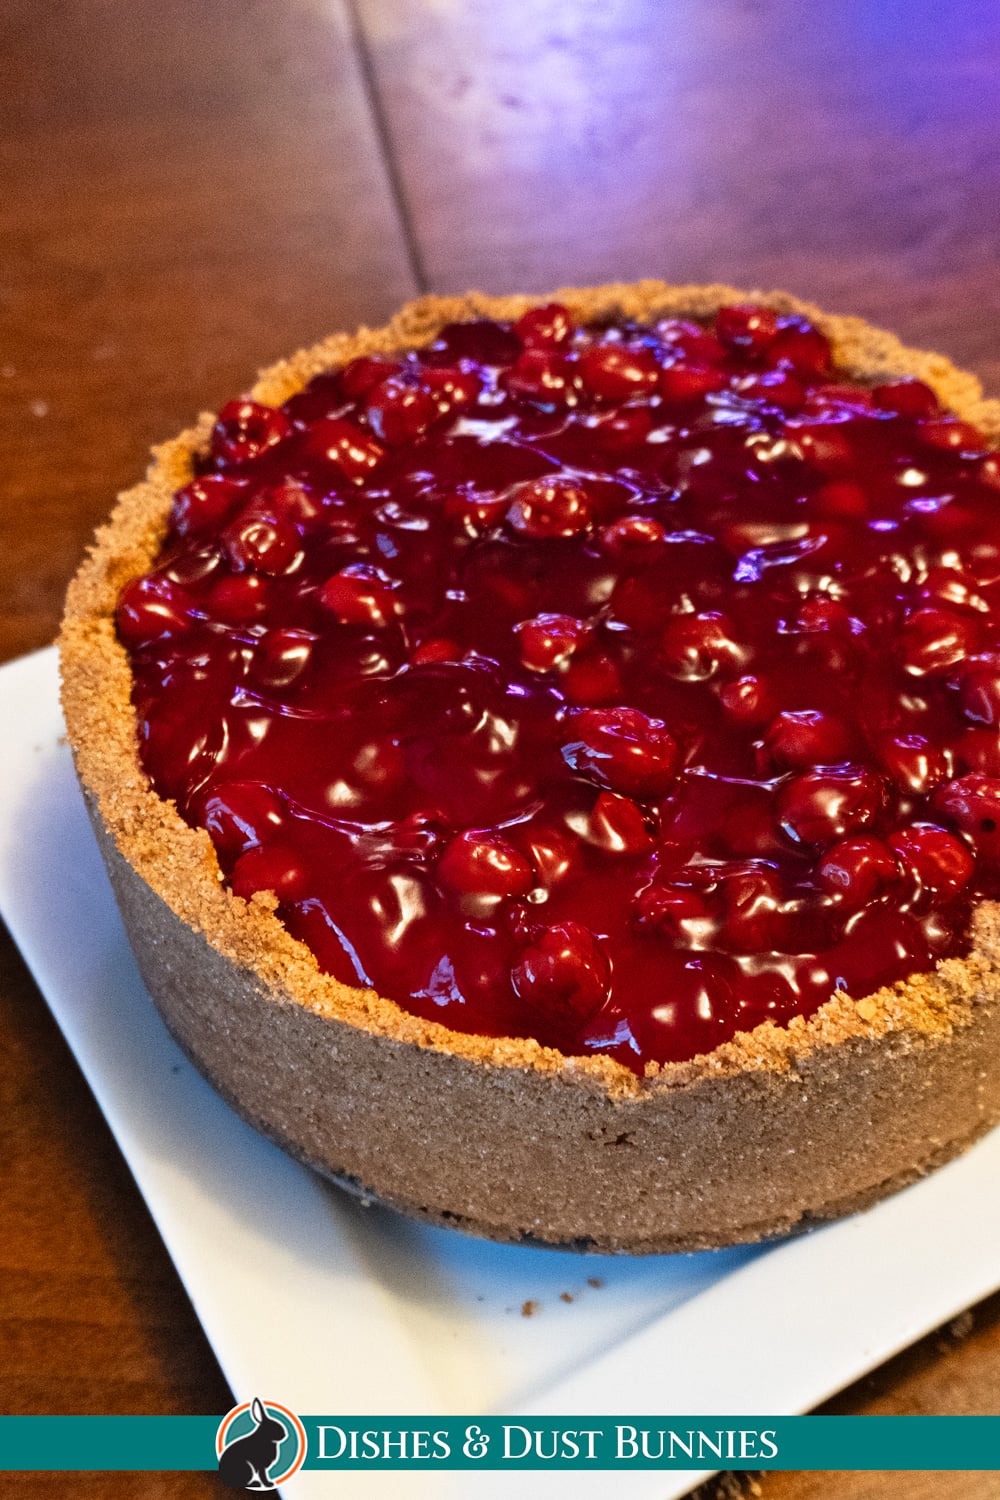
After baking, the cheesecake needs time to cool and chill completely before being topped with cherry pie filling and sliced.
Recipe Variations & Substitutions
- Switch up the topping: This cheesecake works well with other pie fillings like blueberry or strawberry, or even served plain with a drizzle of caramel or chocolate.
- Add a hint of citrus: A little lemon zest in the filling adds a subtle brightness that pairs really nicely with the cherries.
- Make it for different occasions: Skip the topping and serve it plain if you want a more classic cheesecake base you can dress up different ways.
Frequently Asked Questions
Do I need a water bath for this cheesecake?
No, this recipe is designed to be simple and doesn’t require a water bath. As long as you don’t overbake it, you’ll still get a smooth, creamy texture.
How do I know when the cheesecake is done baking?
The edges should be set, but the centre should still have a slight jiggle. It will continue to firm up as it cools.
Why did my cheesecake crack?
Cracks can happen if the cheesecake is overbaked or cools too quickly. Letting it cool gradually in the oven helps reduce the chances of cracking.
Can I make this cheesecake ahead of time?
Yes, this is actually a great make-ahead dessert since it needs several hours to chill before serving.
Can I use a different size pan?
A 9-inch springform pan works best for the thickness of this recipe. Using a different size may affect the baking time and texture.
Storage & Freezing
Storage:
Store the cheesecake covered in the refrigerator for up to 4–5 days. Keep it in the springform pan or transfer slices to an airtight container.
Freezing:
You can freeze the cheesecake either whole or in slices. Wrap it tightly in plastic wrap and place in an airtight container. Freeze for up to 2 months.
Thawing:
Let the cheesecake thaw overnight in the refrigerator before serving.
What Can I Serve This With?
This cheesecake is perfect on its own, but you can easily serve it alongside a few simple additions to round things out.
- Whipped Cream: A dollop of homemade whipped cream adds a light, creamy contrast to the rich filling.
- Fresh Fruit: Serve with extra fresh cherries or berries on the side to balance the sweetness.
- Coffee or Tea: This pairs especially well with a hot cup of coffee or tea for a simple dessert spread.
- Vanilla Ice Cream: If you want to make it extra indulgent, a scoop of vanilla ice cream alongside a slice works really well.
Other Recipes You'll Enjoy
If you enjoy desserts like this, you’ll probably find yourself coming back to other sweet treats too—especially things like bars, no-bake desserts, and simple baked recipes that are easy to put together but still feel a little special.
It also pairs really well with some of your baking recipes, whether that’s muffins, quick breads, or other homemade treats that go perfectly with coffee or tea.
And if you’re planning this as part of a bigger meal or gathering, it fits right in with your comfort food dinners and classic family-style recipes—those kinds of meals that naturally end with something homemade for dessert.
Classic Baked Cherry Cheesecake
- Total Time: 5 hours 25 minutes (including chill time)
- Yield: 10–12 slices 1x
Description
An easy homemade cherry cheesecake with a rich, creamy filling and a thick, cookie-like graham cracker crust, topped with luscious cherry pie filling.
Ingredients
Crust
- 408g box of graham crackers (about 3⅓ cups crumbs) – if you get a box with more or a little less that's ok!!
- ½ cup butter
- ¾ to 1 cup sugar (adjust to taste)
Cheesecake Filling
- 3 packages (8 oz each, 24 oz total) cream cheese, softened
- 1 cup sugar
- 3 eggs
- 1 teaspoon vanilla
- 2 tablespoons all purpose flour
- ½ cup heavy cream
Topping
- 1 can cherry pie filling (about 540 mL / 19 oz, such as ED Smith)
Equipment
- 1 – 9” round springform pan (high-sided)

Instructions
Prepare the Crust
- Preheat oven to 350°F (175°C).
- Line the bottom of a 9-inch round springform pan with parchment paper.
- In a food processor:
- Pulse graham crackers into fine crumbs
- Add sugar and pulse to combine
- Add butter in small chunks
- Process until the mixture resembles wet sand
- Press the mixture firmly into the pan:
- Start with the bottom, then work your way up the sides
- Use the bottom of a mug to press and smooth it out evenly
- Bring the crust all the way up to the top edge
- Bake for 8–10 minutes, then let cool slightly.
Make the Cheesecake Filling
- Reduce oven temperature to 325°F (163°C).
- Add all filling ingredients to a large bowl.
- Beat with a hand mixer until:
- Smooth
- Slightly fluffy
- Pour into the crust, leaving a little space at the top so the crust forms a raised edge.
Bake
- Bake at 325°F for 60 minutes
- Cheesecake is done when:
- Edges are set
- Center is slightly jiggly
Cool & Chill
- Remove from oven and let cool completely on the counter.
- Refrigerate for at least 4 hours, preferably overnight.
Add Topping
- Spoon the cherry pie filling over the cheesecake once fully chilled.
Notes
The 408g graham cracker measurement reflects the box I used—if yours is slightly more or less, that’s totally fine. If using store-bought crumbs, use about 3⅓ cups.
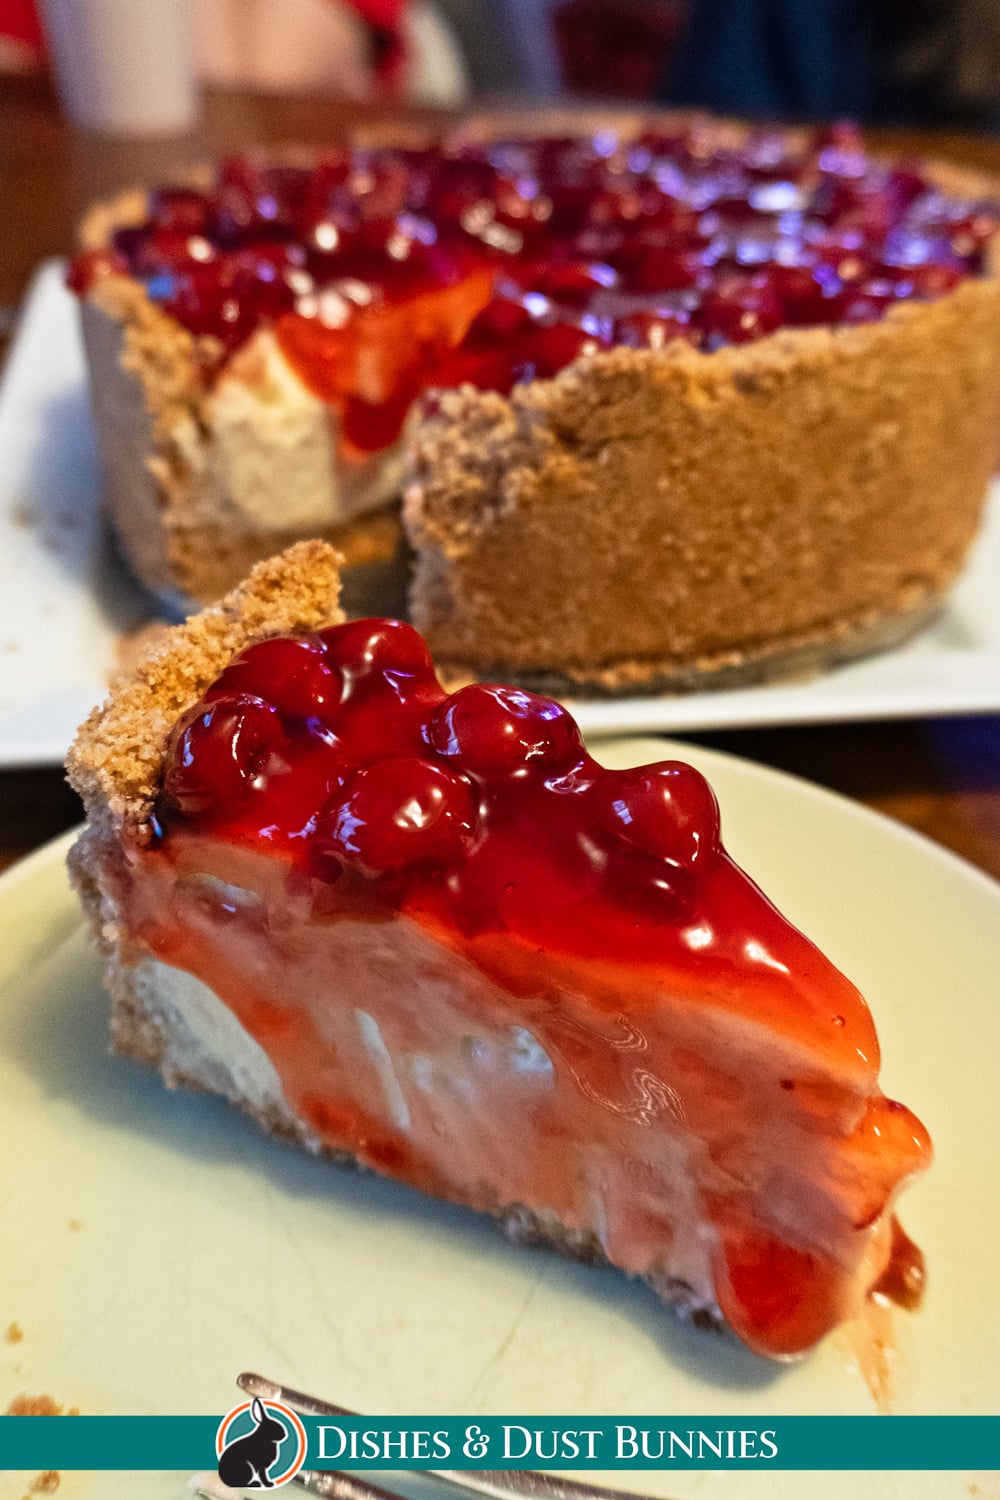
This recipe makes a thick, sturdy crust—like the cheesecake is wrapped in a slightly crumbly cookie that still holds up well.
I used an electric hand mixer for this recipe, but a stand mixer works just as well. The whipping cream needs to be beaten well to get that light, fluffy texture, so I highly recommend using a mixer. You can do it by hand, but it takes some serious effort—I personally wouldn’t, but I won’t stop you from trying.
The crust mixture should resemble wet sand, and when pressing it in, aim for fairly even thickness along the bottom and sides—but don’t stress about perfection, it will still turn out just fine.
A few tips when slicing: the crust may crumble slightly—that’s normal. For cleaner slices, use a warm knife and wipe it between cuts.
- Prep Time: 25 minutes
- Chill Time: 4+ hours (overnight preferred)
- Cook Time: 60 minutes
- Category: Dessert
- Method: Bake
- Cuisine: American