
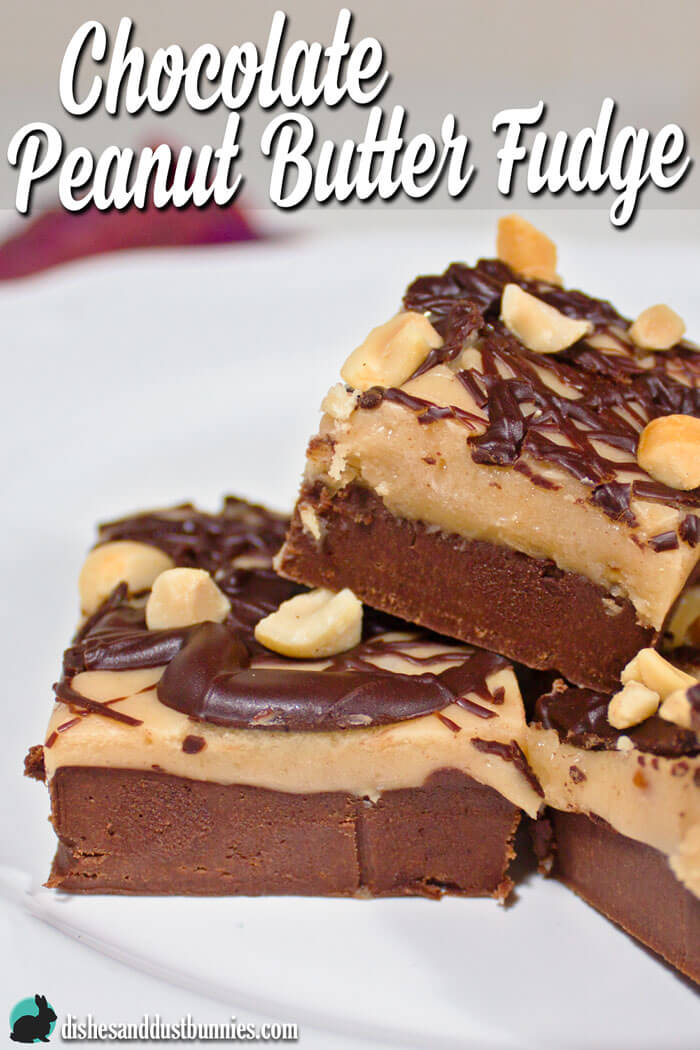
The Best Chocolate Peanut Butter Fudge!
Chocolate and peanut butter is one of my favourite flavour combinations. I know a lot of others also have the same obsession so I thought I would make some chocolate peanut butter fudge and share the recipe with you!
With the holidays coming I thought it might be nice to bring something to share at the family Christmas dinner this year and I think this will be it!
This is one of those recipes that I’ve tried making several times in order to get it just the way I felt it should be. Honestly, I think I made about 4 different versions of this recipe in order to get it just right.
After all that testing and tasting, I’m sharing with you the final recipe of my chocolate peanut butter fudge and it is absolutely divine!
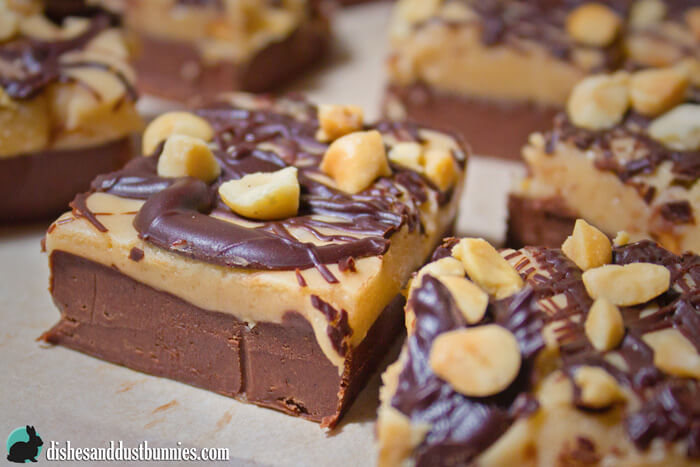
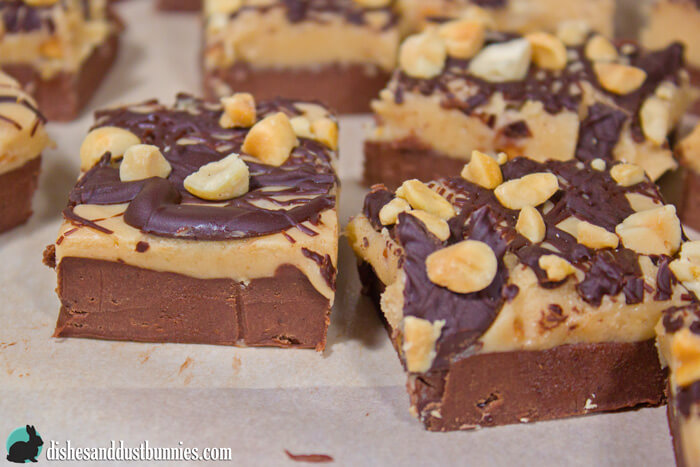
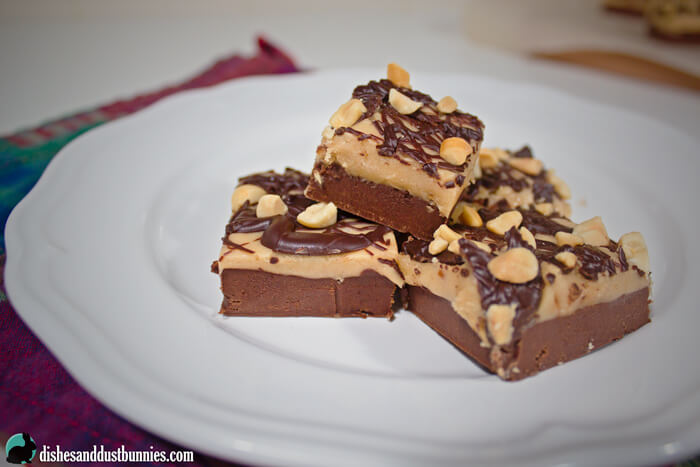
This recipe produces rich and creamy layers of peanut butter and chocolate fudge with even more chocolate drizzled on top along with some lovely little sprinkles of chopped peanuts.
I’m very pleased with how this recipe turned out and I know you’ll love it as well. 😀
While you're here, if you like this recipe, you'll also love this delicious maple peanut butter cups recipe from fellow blogger Cook Clean Repeat!
Also, please don’t be intimidated by the number of steps in this recipe. Just focus on one layer at a time and it’s a lot easier than you think. Make this and you can make anything! I know you can do it! 🙂
Seriously though, make this and bring it to your next holiday party. You'll impress the bejeebers outta them!
If you have a stand mixer, I would recommend stirring the fudge using that since it will give your hand a break – sometimes fudge can take quite a bit of stirring to get to where it needs to be consistency wise. If you don’t have a stand mixer you can also use an electric hand mixer. If you end up having to stir the fudge by hand the old fashioned way, I promise you that the end results are totally worth your it!
An important thing to also remember when making fudge is to make sure that it reaches the proper temperature on the candy thermometer so that it is able to set properly once it cools.
If you have questions, please let me know in the comments below!
The Best Chocolate Peanut Butter Fudge!
- Yield: 20 – 25 pieces 1x
Ingredients
Chocolate Fudge Layer
- 2 oz semisweet chocolate, chopped
- 2 oz unsweetened chocolate, chopped
- ½ teaspoon of vanilla
- ¾ cup sugar
- 1/3 cup sweetened condensed milk
- ½ cup water
- ¼ cup heavy whipping cream
- 2 tablespoons (1/4 of a stick) unsalted butter, chopped
Peanut Butter Fudge Layer
- 1/3 cup peanut butter
- ¾ cup sugar
- 1/3 cup sweetened condensed milk
- 1/3 cup water
- ¼ cup heavy whipping cream
Topping Ingredients
- 2 oz milk chocolate, chopped and melted
- 2 – 3 tablespoons coarsely chopped unsalted peanuts

Instructions
Chocolate Fudge Layer
- Line a 9” x 9” square baking pan with aluminum foil and spray with some cooking spray. Set aside.
- Place chopped chocolate and vanilla into a medium sized mixing bowl and set aside. (If you plan on using a stand mixer to stir your fudge, place the ingredients from this step into the bowl of the stand mixer.)
- In a 2 quart saucepan, bring sugar and water to a boil.
- Bring the heat down to about medium high. Place a candy thermometer into the sauce pan to monitor the temperature. Stir slow and constant. This will take about 10 minutes.
- Once the sugar and water mixture reaches a temperature of 125°F, quickly add the sweetened condensed milk, heavy whipping cream and the butter. Stir together to combine all ingredients.
- Continuously stir the mixture in the sauce pan until the candy thermometer again shows that the temperature has reached hundred and 125°F. This should take a little under 10 more minutes.
- quickly pour the contents of the sauce pan into the mixing bowl containing the chocolate and vanilla. Combine using a wooden spoon or a heatproof silicone mixing spoon.
- If you are mixing by hand it may take 10 to 15 minutes of stirring for the fudge to gain the right consistency. You’ll know it’s ready to pour into the pan once it thickens up and makes long ribbons of fudge when you lift your spoon from the mixing bowl.
- If you’re mixing the fudge using a stand mixer combine using the paddle attachment. Start out on low speed and then work your way up to high speed. After about five minutes of mixing, turn down the speed of your stand mixer and check to see if the fudge is starting to form ribbons and thickened up.
- Once the fudge is thick enough, pour into the prepared foil lined baking pan.
- To help make sure your fudge spreads evenly, you can place a little saran wrap on your hand and press gently over top and guide the fudge to where it needs to go. Doing this will be easiest once the fudge has had about five minutes to cool so it won’t stick to the saran wrap.
- Once the fudge has been spread, place into the fridge to cool while preparing the next layer will.
Peanut Butter Fudge Layer
- Place the peanut butter into medium sized mixing bowl and set aside. (If you plan on using a stand mixer to stir your fudge, place the ingredients from this step into the bowl of the stand mixer.)
- In a 2 quart saucepan, bring sugar and water to a boil.
- Bring the heat down to about medium high. Place a candy thermometer into the sauce pan to monitor the temperature. Stir slow and constant. This will take about 10 minutes.
- Once the sugar and water mixture reaches a temperature of 125°F, quickly add the sweetened condensed milk and heavy whipping cream. Stir together to combine all ingredients.
- Continuously stir the mixture in the sauce pan until the candy thermometer shows that the temperature has reached hundred and 125°F again. This should take a little under 10 more minutes.
- Quickly pour the contents of the sauce pan into the mixing bowl containing the peanut butter. Combine using a wooden spoon or a heatproof silicone mixing spoon.
- If you are mixing by hand it may take 10 to 15 minutes of stirring for the fudge to gain the right consistency. You’ll know it’s ready to pour into the pan once it thickens up and makes long ribbons of fudge when you lift your spoon from the mixing bowl.
- If you’re mixing the fudge using a stand mixer combine using the paddle attachment. Start out on low speed and then work your way up to high speed. After about five minutes of mixing, turn down the speed of your stand mixer and check to see if the fudge is starting to form ribbons and thickened up.
- Once the peanut butter fudge layer is ready, remove the chocolate fudge from the refrigerator. Quickly spread the peanut butter fudge evenly over top of the chocolate layer.
- To help make sure your fudge spreads evenly, you can place a little saran wrap on your hand and press gently over top and guide the fudge to where it needs to go. Doing this will be easiest once the fudge has had about five minutes to cool so it won’t stick to the saran wrap.
Topping
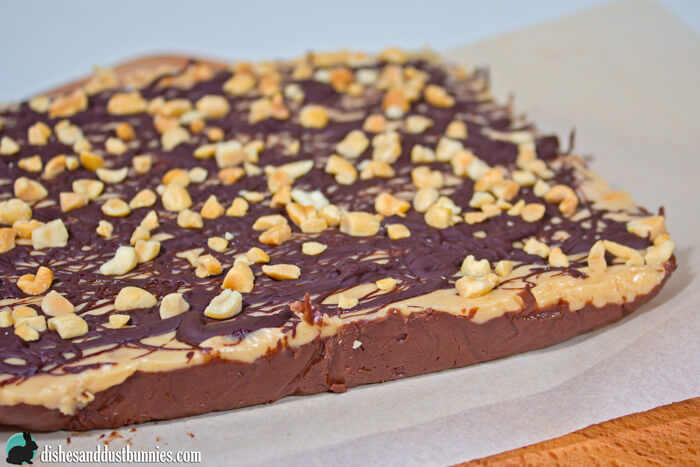
- Drizzle melted chocolate over top of the peanut butter layer. Be as creative as you like when doing this. Personally I like a whole mess a chocolate on top!
- Sprinkle with chopped peanuts.
- Place in the fridge to cool. It’s best to allow the fudge to cool overnight so that it has ample time to set before cutting and serving.
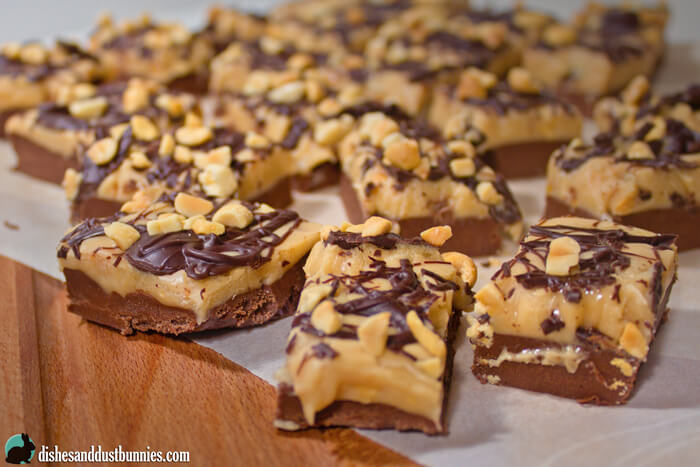
- Once the fudge has cooled, remove it from the pan using the aluminum foil to put up and out.
- Cut the fudge into 20 – 25 squares.
- Category: Dessert
Thank you for sharing. This looks very delicious
Thanks Denise! 🙂
This look gooey and rich! My family would love these!
Thanks so much Barrie! They’re so good – can’t wait to make them again to bring to share at Christmas! 😀