
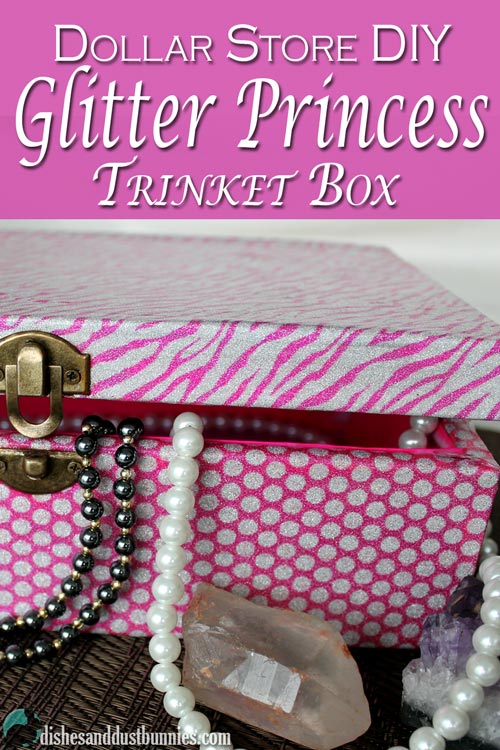
Dollar Store DIY Glitter Princess Trinket Box
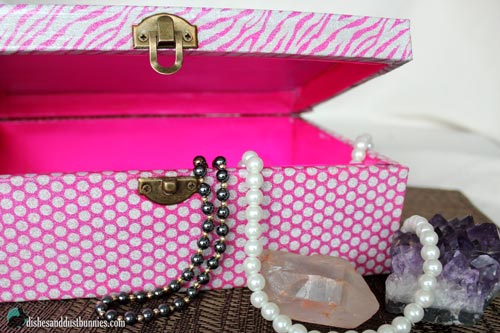
This awesome little glitter princess trinket box was created using items from the dollar store and cost under $4 to make!
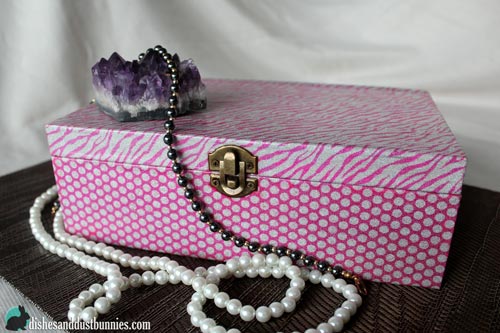
I was so pleased with how this turned out that I'm considering giving this as a homemade gift box for someone this Christmas – but I'm not sure yet – I might just keep it for myself! lol
 Items Used:
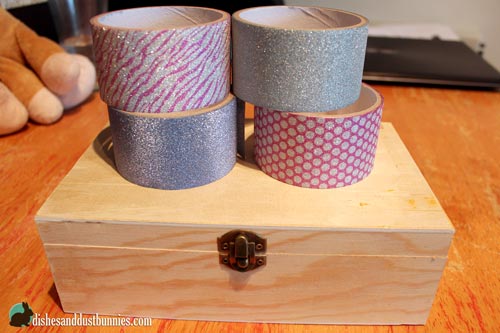
- 9.5″ x 6″ wooden box with latch and hinges
- wide glitter tape – 2 different kinds
- Modge Podge – Glossy (I had this on hand)
- old paint brush or one of those spongy ended brushes (spongy one works best but use whatever you have on hand)
- small screw driver to remove hardware
- scissors
- colored craft paper to line the inside (I had this on hand)
How to do it:
(Please note that some of the steps are not shown in images as they're very simple steps)
Step 1:
Using a screwdriver remove the hinges and latch from the box. Set them aside in a place where you won't lose the tiny screws.
[ezcol_1half]
[/ezcol_1half] [ezcol_1half_end]
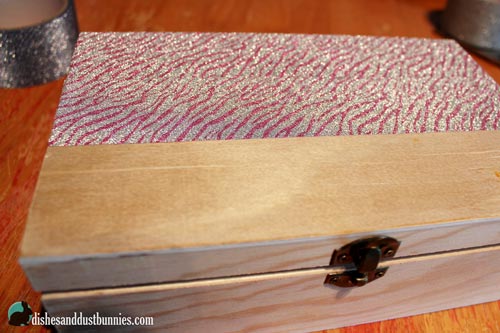
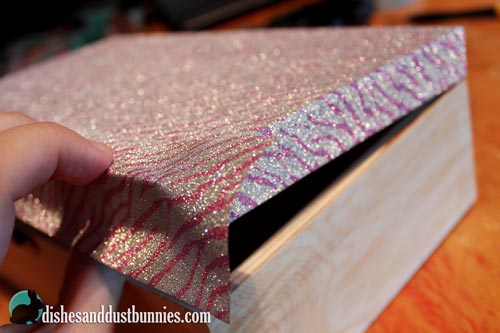
Step 2:
Starting with the lid begin sticking lengths of the tape to the outside of the lid. Make sure that you tuck the ends in the underside of the lid so the outside will look tidy when it's finished. Continue covering the lid with the glitter tape. When you reach corners fold the tape the same way you would when wrapping a present. Continue to cover the lid of the box.
Step 3:
Using one of the small screws from the hardware you set aside gently push where you think the holes are from the hardware. Feel around gently with the screw until you find the holes – try not to scrape the tape too much. Once you find the screw hole make a little hole in each spot using the screw. This makes it easier to re-attach the hardware.
Step 4:
Re-attach the hinges and top part of the latch over the tape on the lid. Make sure the tape is sticking well and doesn't wrinkle around the hardware.
Step 5:
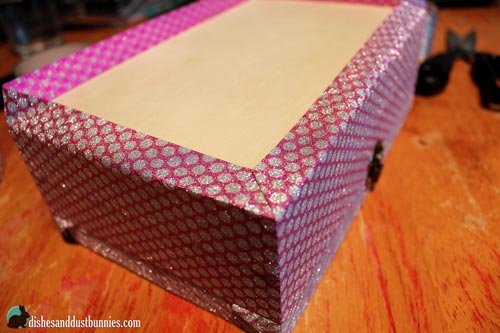
Using more glitter tape cover the outside bottom part of the wooden box in the same way you did with the top part of the box. Make sure the edges are tucked in and the corners folded neatly like a present.
Step 6:
Using another screw that's left over from the hardware, repeat Step 3, except with the bottom of the box.[/ezcol_1half_end]
Step 7:
Re-attach the lid of the box to the bottom with the remaining hardware. Also reattach the bottom part of the latch.
Step 8:
Using the glossy Modge Podge and the sponge brush (or old paintbrush) coat the top and sides of the box. Leave the lid open while doing this to prevent it from sticking shut. Allow some time for the coat to dry – I would say it takes about 2-3 hours from 1 coat to dry. Two more coats of Modge Podge should be used on the tops and sides while leaving time to dry in between.
Step 9:
Once the Modge Podge has dried measure the insides of the box and cut pieces of the colored craft paper the size of each side in the inside of the box. Make sure that this is also done for the lid of the box and it's inside edges. I used the colored craft paper since I had it on hand but you could alternatively use fabric in the inside if you like.
Step 10:
Use the Modge Podge to coat the underside of the colored craft paper pieces and stick them to the insides of the box. Once you have all the craft paper where you'd like them brush some Modges Podge over the pieces to give them a glossy finish. Make sure that you leave some time for the inside to dry in between coats. I did 3 coats of Modge Podge on the inside. Don't forget while drying leave the lid open so the top and bottom don't stick together.

This is neat, Michelle. I would like to do this project for my girls! Where can I purchase a box like this? I think I may try fabric inside. Modge podge is such a neat product.
HI Melanie!
You should be able to purchase the wooden box or one similar in a dollar store craft section. Over here in Canada, we have Dollarama. I think something similar in the US would be Dollar Tree?
Fabric on the inside of the box would also be very nice! 🙂
It didn’t even occur to me that the dollar store would carry a wooden box. I’ll check my Dollar Tree for one. Maybe I just need more coffee. 🙂 Thank you!
No problem! 🙂 I made my coffee but haven’t had time to pour it yet! lol
Well arent you the clever girl, I take it that was the new sparkly duct tapes they have. This little box turned out great, and of course Pink is my favorite color!!!~ Thanks for stopping by to link your post this week on Oh My Heartsie Girl!!! Have a great week!!!
Thanks so much Karen! 🙂
I’m very pleased with how it turned out! The tape is similar to duct tape but was more of a matte paper like surface so I used Modge Podge glossy (which I had on hand) to give it a nice sheen. 🙂
Hope you have a great week as well!